Pagemaker
Pagemaker is a lightweight module designed to bridge a key gap in the Marker Data toolset: the ability to generate and export PDFs from Final Cut Pro's Marker metadata with images. Originally, Marker Data lacked native support for PDF export. With the introduction of the Pagemaker module, this limitation has been thoughtfully addressed.
Starting with Marker Data version 1.2.0, Marker Data now allows users to load a data set, extracted via Notion or Airtable using Extraction Profiles and generate a dynamic, visual web gallery. Once the Data Set is loaded, users can explore its contents through a searchable and filterable interface. Selected items can then be exported into a cleanly formatted, print-ready PDF, making it easy to share with clients, team members, or maintaining as project archives.
Info
To use Pagemaker, an internet connection is necessary. Rest assured that your Data Set processing remains entirely local, maintaining data integrity and privacy.
Opening Pagemaker
With Marker Data opened, click Open Pagemaker from File menu. Alternatively, you can press ⌘ P on your keyboard to open Pagemaker module.
Additionally, if you are working with Notion or Airtable profiles, an Open Pagemaker button will appear upon completion of the extraction process. You may click this button to access the module as well.

Choosing Extracted Data Set
Pagemaker accepts Data Sets extracted through Marker Data's Extraction Profiles for Notion or Airtable, ensuring compatibility with your existing workflow.
Drag and Drop
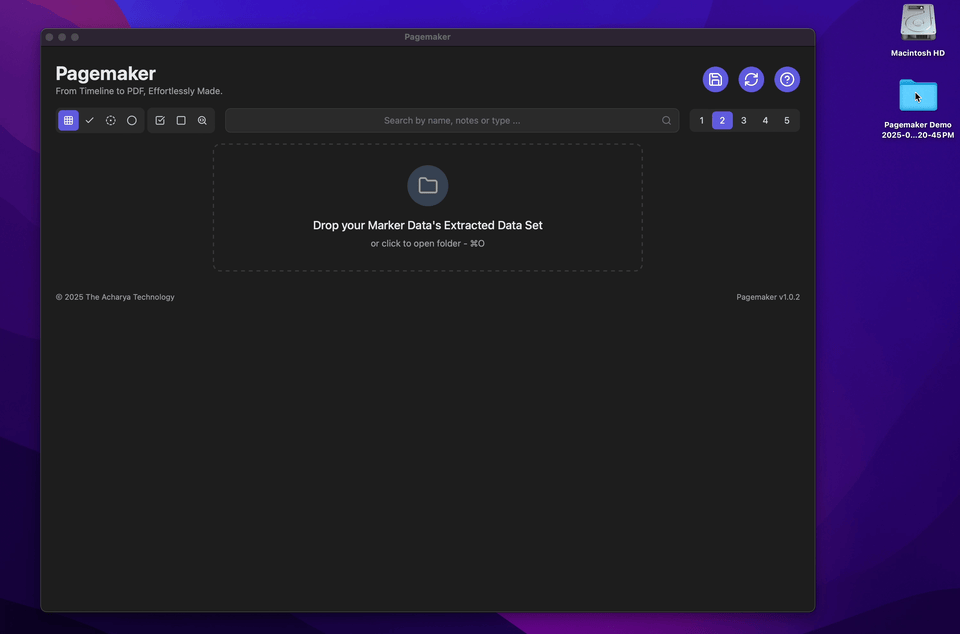
The simplest way to load your Data Set is by dragging and dropping your extracted data folder directly onto the Pagemaker's drop zone. This folder should contain .json data extracted via Notion or Airtable using Extraction Profiles.
Choose Folder
Alternatively, click the drop zone or by pressing ⌘ O on your keyboard to open a folder browser dialog. Navigate to your extracted data folder and select it. This method is particularly useful for users who prefer traditional file navigation.
Info
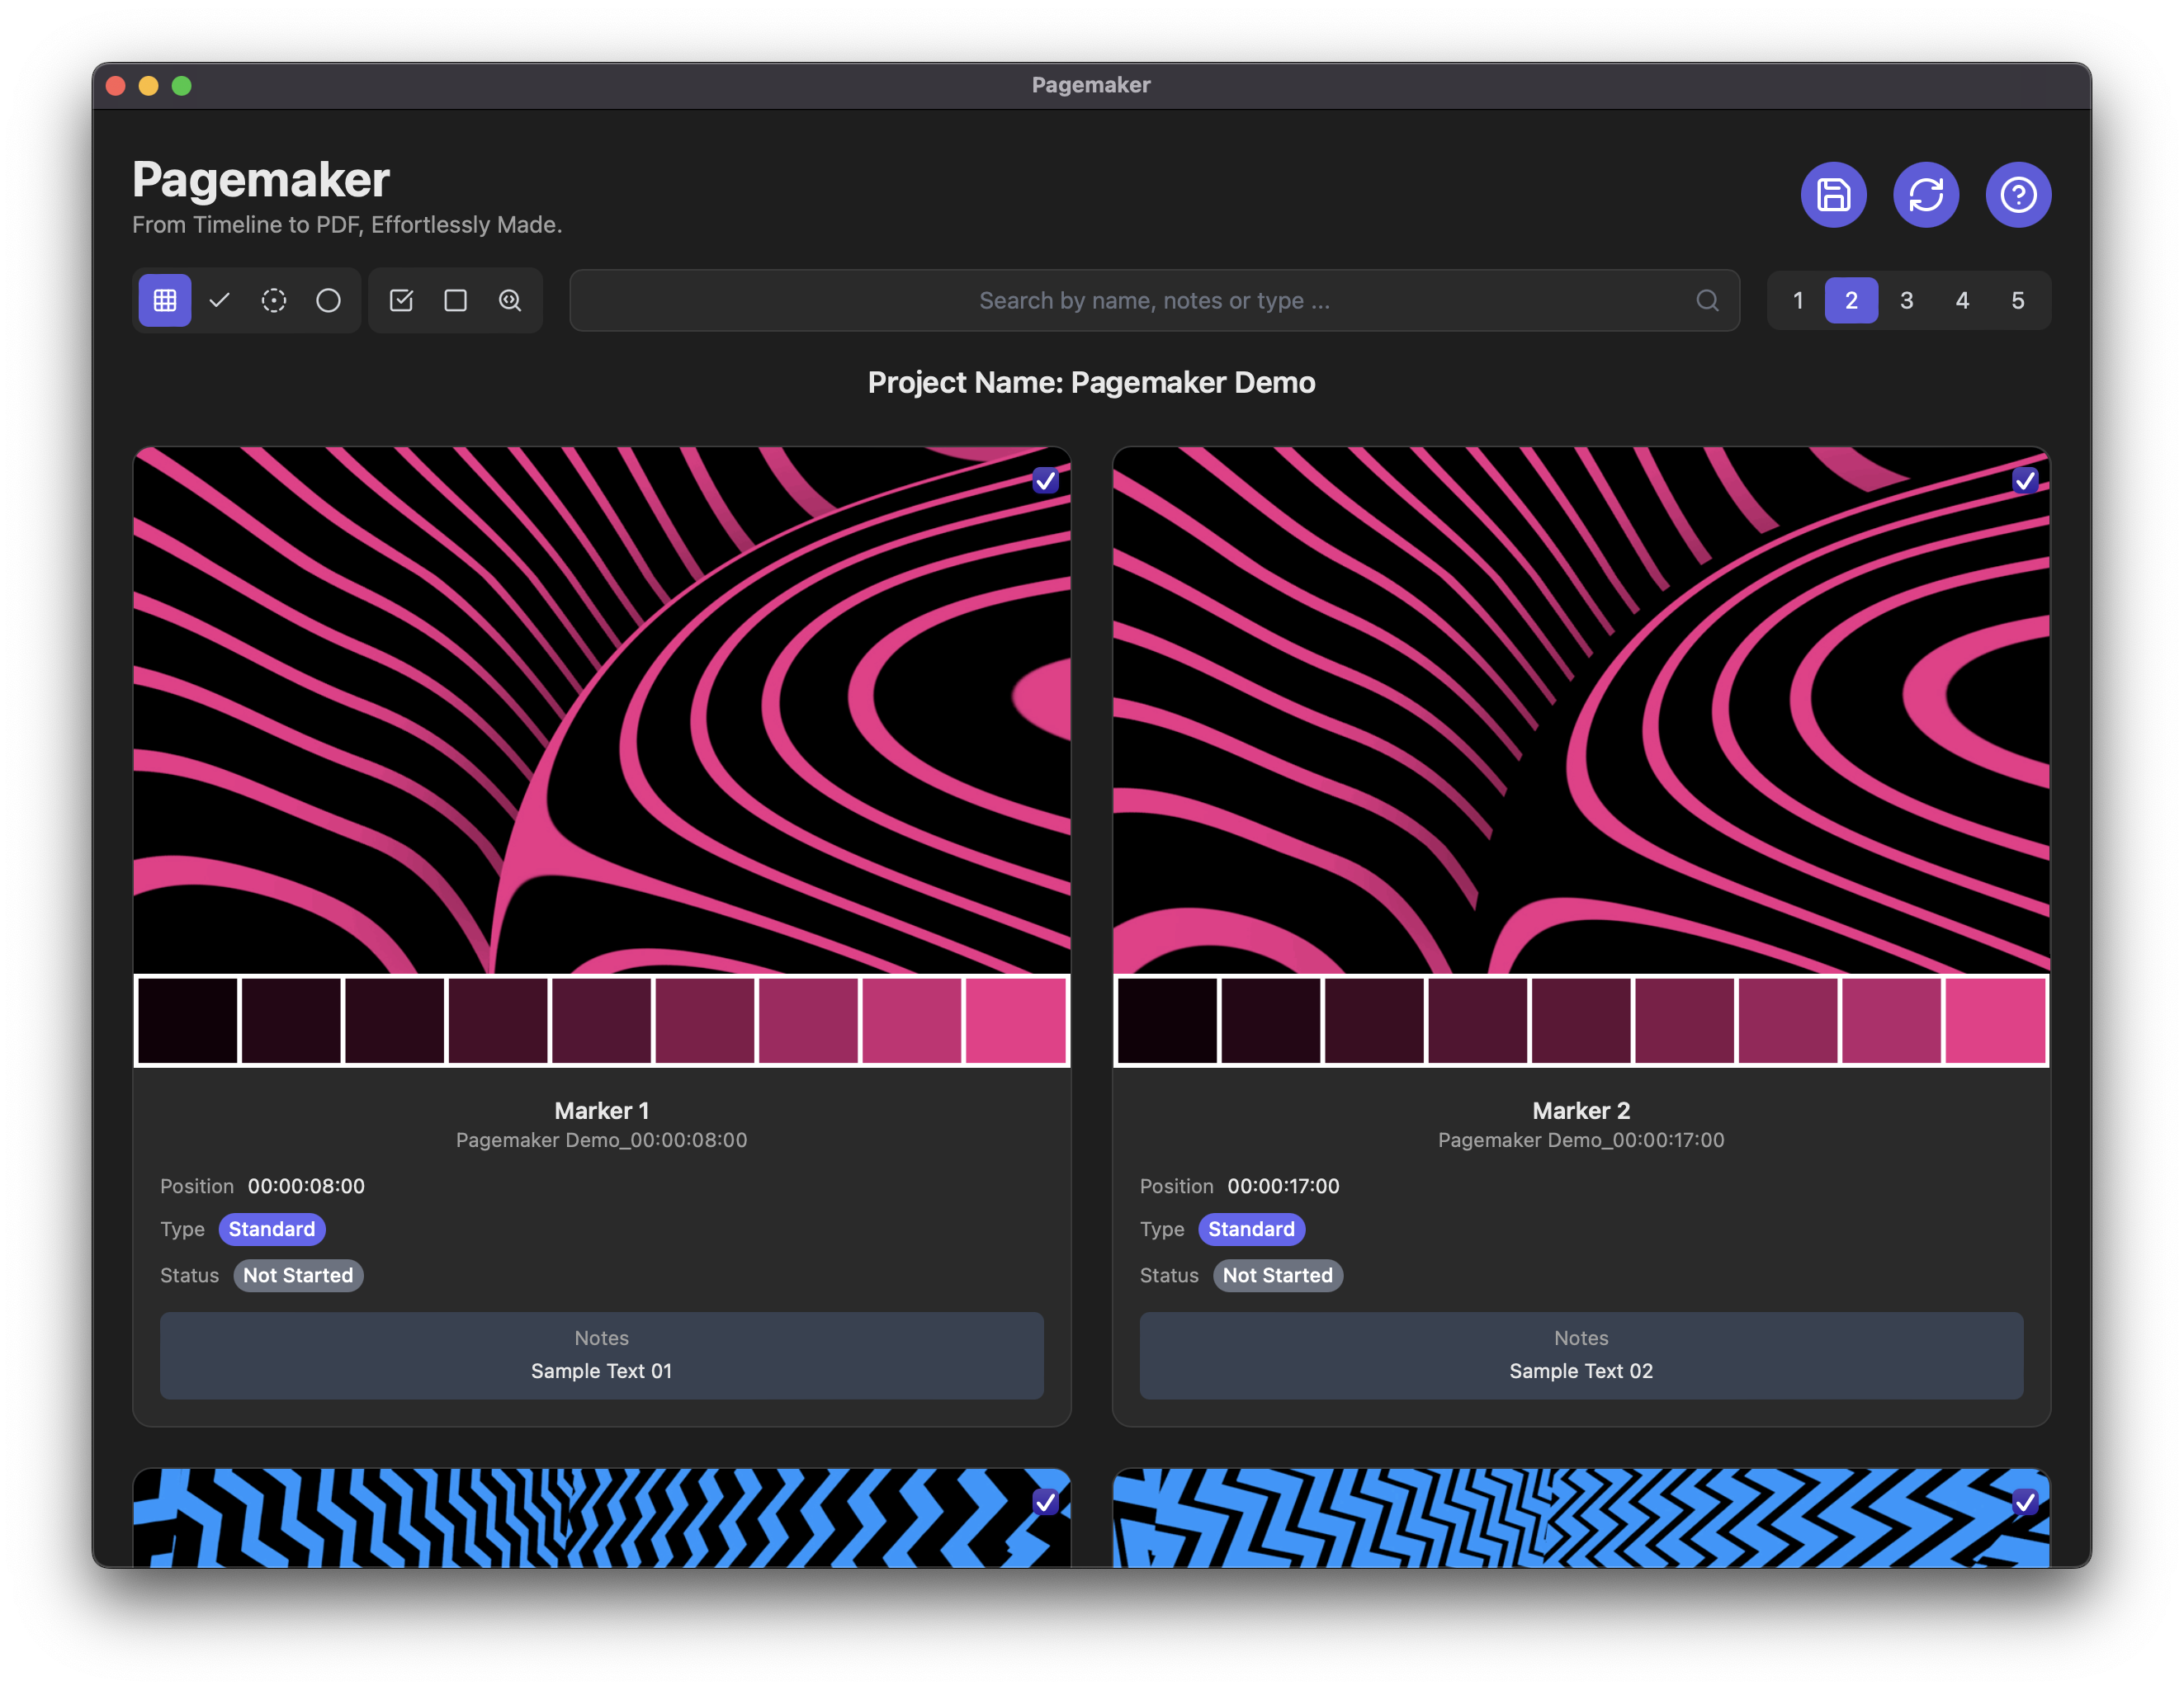
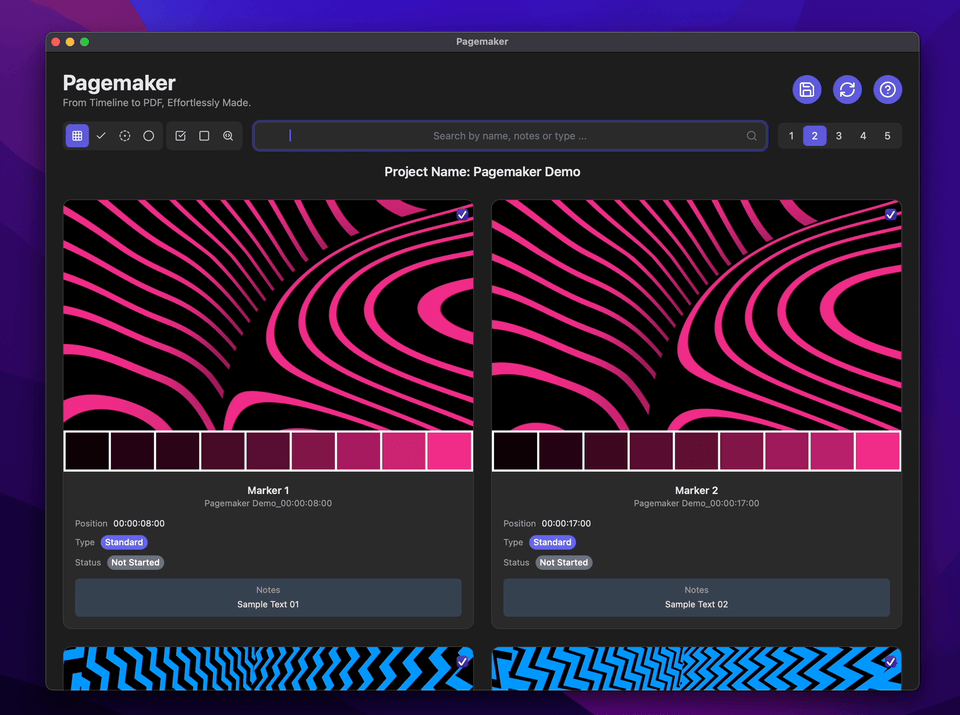
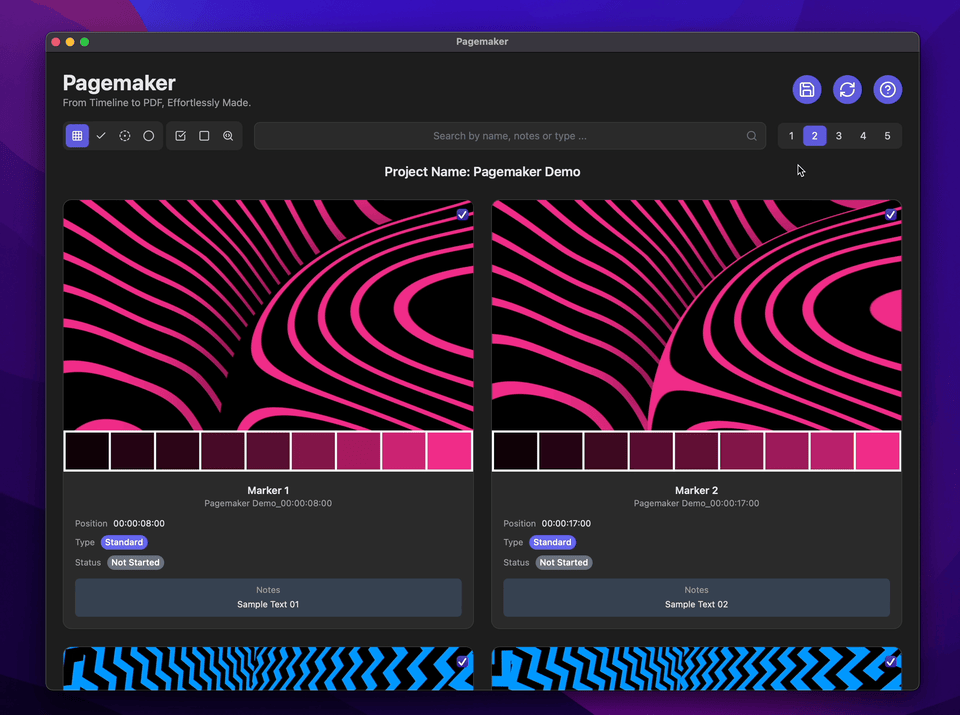
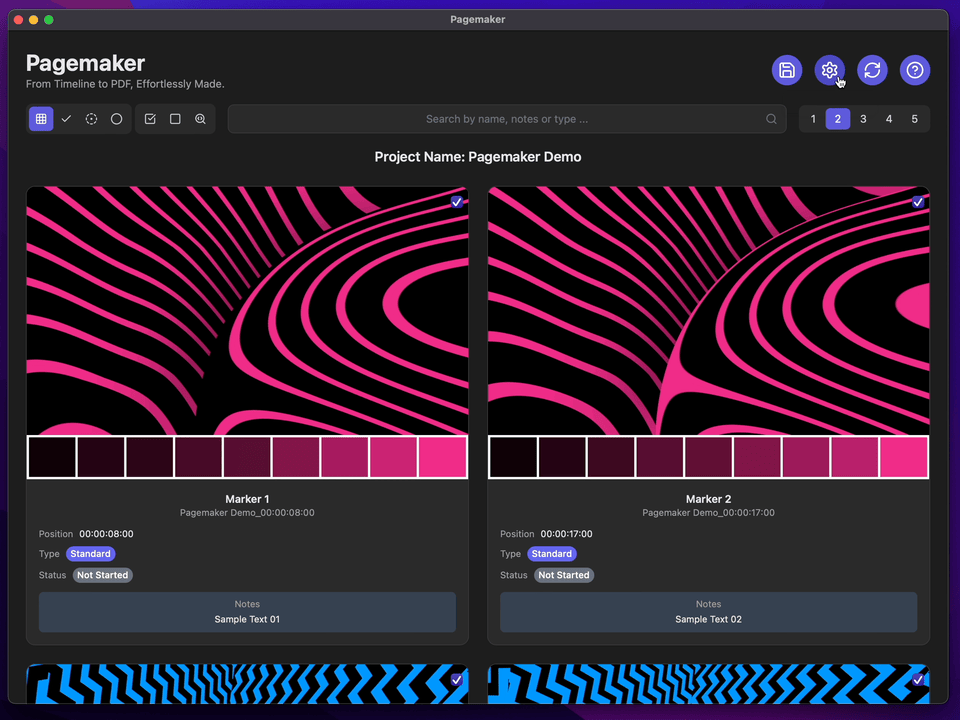
Once loaded, Pagemaker automatically processes your Data Set, mapping metadata and resolving image paths. After successful loading, your Markers will be displayed in a responsive grid layout. The project name will appear at the top of the page for easy identification.
Search
Pagemaker offers common search capabilities to help you quickly find and select specific Markers within large Data Sets.
Use the search field to filter markers by name, notes, or type. The search is real-time, with results updating as you type.
Info
Pagemaker uses fuzzy search technology, allowing for partial matches and typo tolerance to help you find your Markers even with incomplete information.
Info
Markers will always be programmatically sorted in ascending alphabetical order by their associated Marker ID.
Status Selection
Efficiently sort and filter your markers based on their completion status using the status selection toolbar.
Toggle between four status views using the buttons in the toolbar.
Status Options.
- All Statuses Default
- Done
- In Progress
- Not Started

Info
Status selection works seamlessly with search and type filters, allowing for highly specific result sets. For instance, you can display only Chapter type markers that are marked as Done.
Marker Type Selection
Marker types helps you categorise and locate your Markers for more efficient retrieval.
Add type-specific filters by typing type: in the search field or clicking the Type Suggestions button. You can select from Marker types (Standard, To Do, Chapter, Caption). Combine multiple type filters by adding multiple type: prefixes. For example, you can simultaneously filter for both Chapter and Caption markers.
Active type filters appears as a pill tag inside search field. Click the × icon on any pill tag to remove that type filter and update your results.
Status Options.
- Standard
- To Do
- Chapter
- Caption

Info
Add multiple type filters simultaneously to create complex selections.
Column Selection
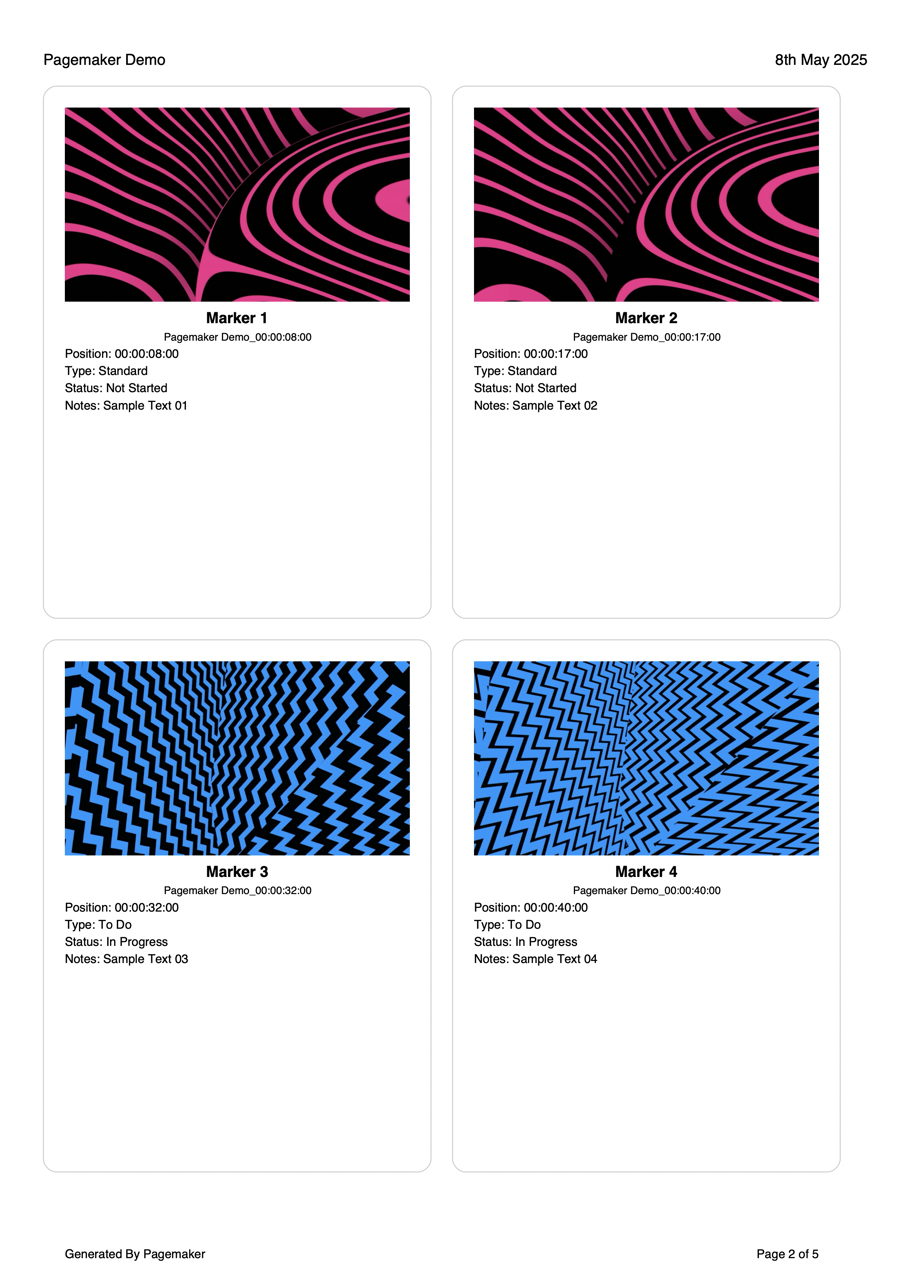
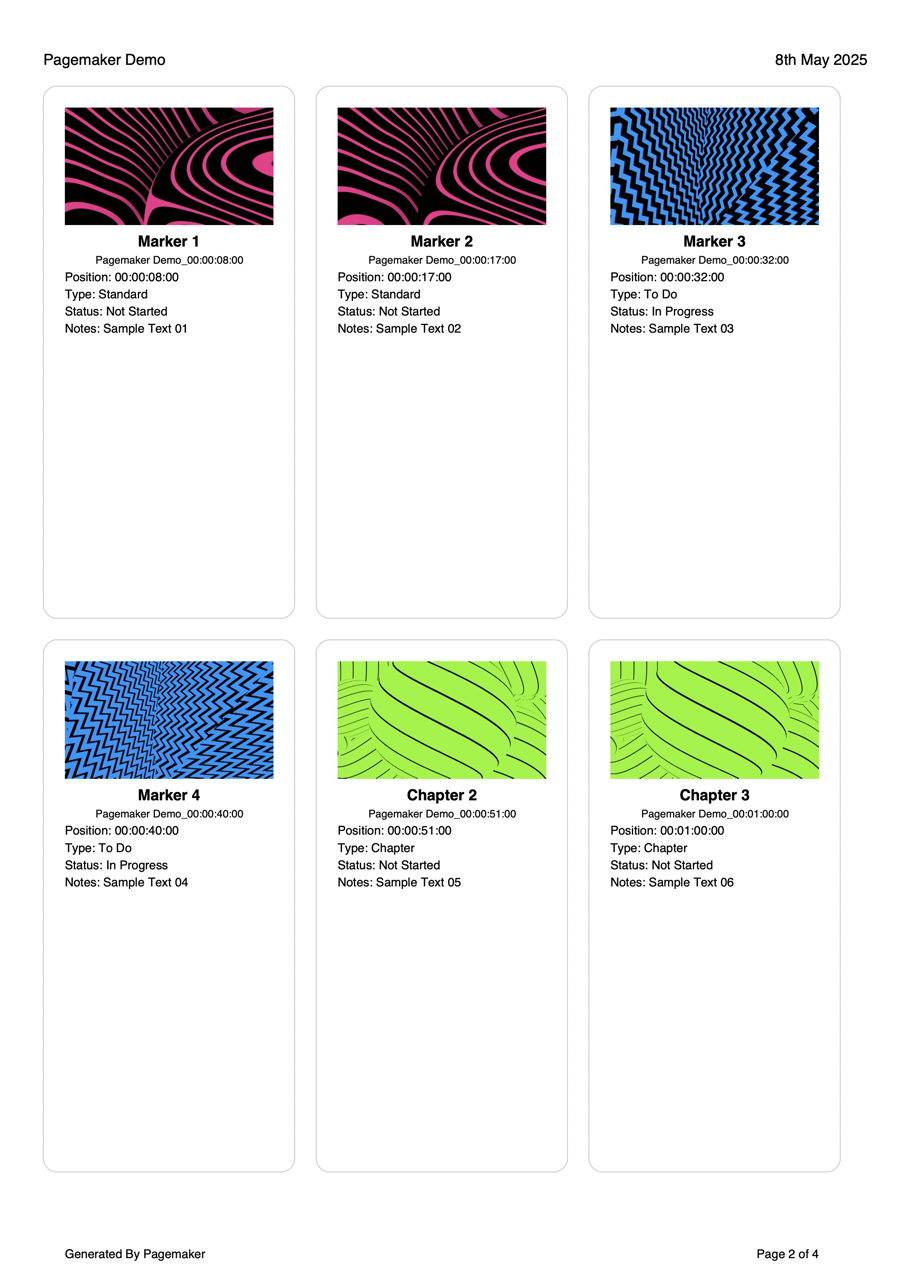
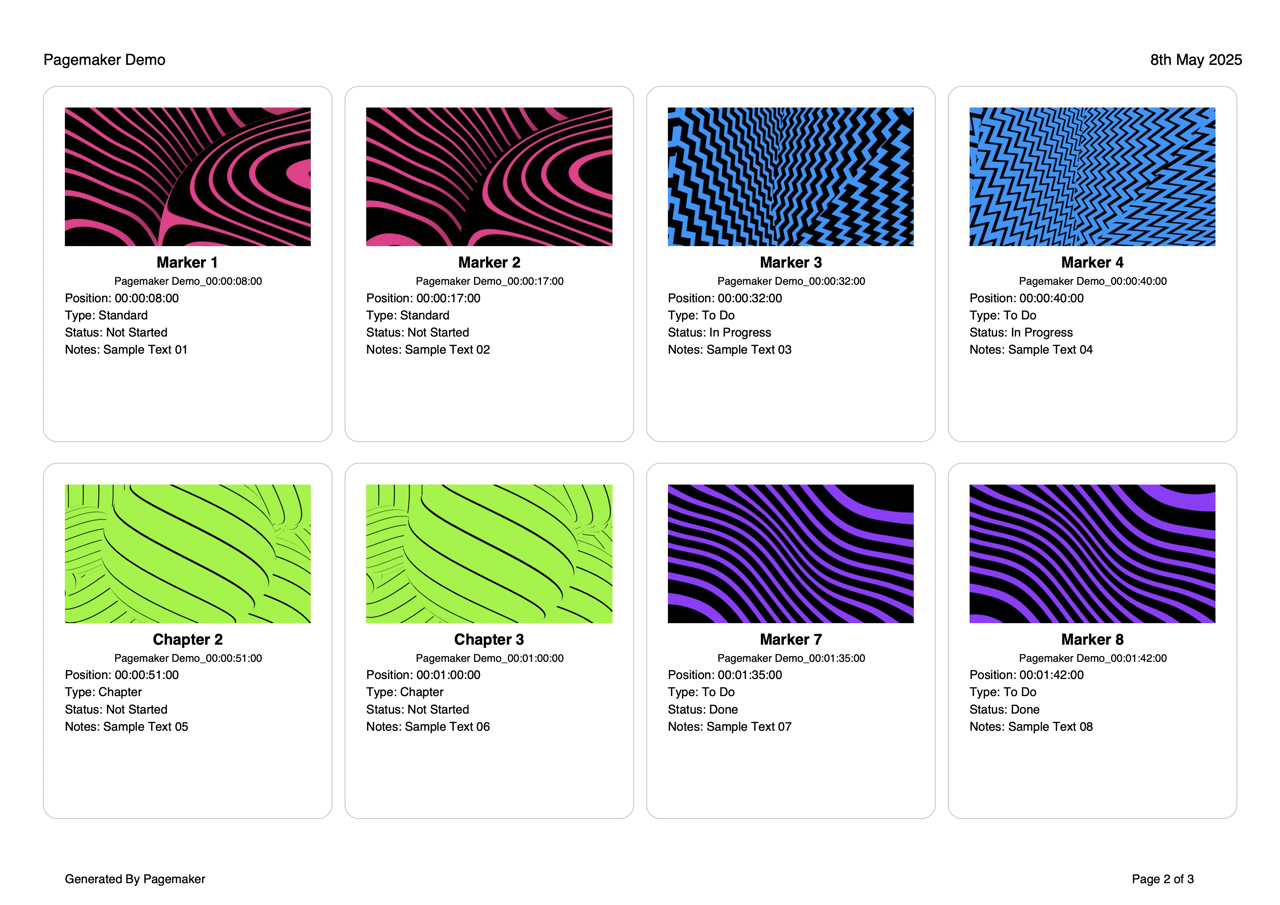
Customise your viewing experience by adjusting the gallery's column layout to match your screen size and export preferences. The column selection affects the PDF export layout, giving you control over the final printed appearance of your Markers.
Layout Options.
- 1 Column
- 2 Columns Default
- 3 Columns
- 4 Columns
- 5 Columns
The column selection feature enables you to balance information density with readability, adapting the interface to best suit your display size and PDF export.
Info
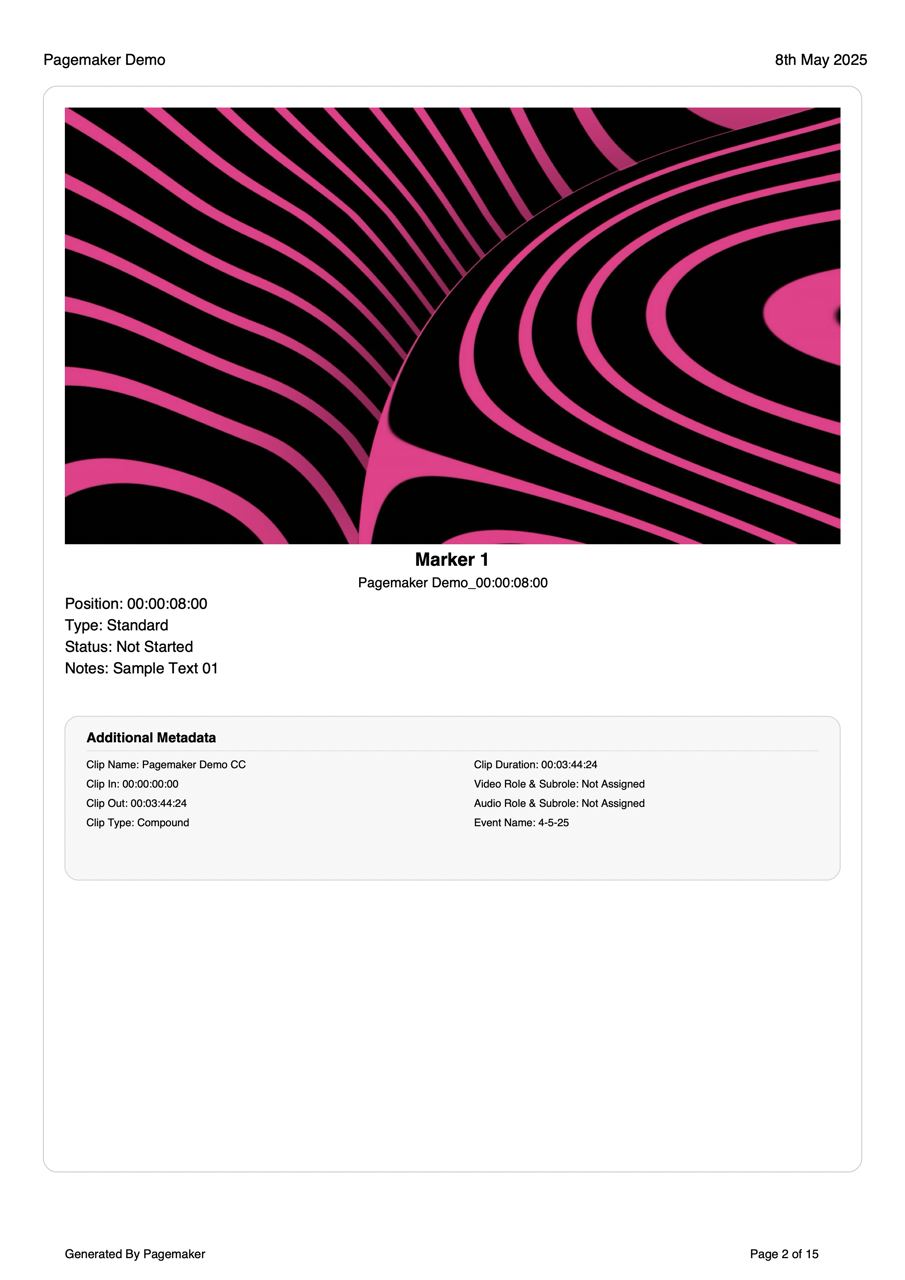
The Additional Metadata section will be included in the PDF export only when Column 1 is selected. If a metadata value is empty, its corresponding label will be omitted.
Info
Your column preference remains active throughout your session, even as you adjust filters or search terms.
Info
Each column layout dynamically adjusts card sizes and information density to preserve readability and usability. However, depending on the selected column, metadata values may occasionally exceed their predefined boundary boxes when character lengths surpass a certain threshold. Pagemaker is not inherently designed to support all possible character lengths, nor is it intended to accommodate a wide range of layout styles.
Checkbox Selection
The checkbox selection system provides granular control over your exports, enabling you to create precisely tailored PDFs containing exactly the marker information you need. Each Marker Card features a checkbox in the top-right corner. Click to toggle inclusion in the PDF export. This feature allows you to include or exclude specific Markers from your export while keeping the rest, perfect for creating targeted PDFs.
Use the dedicated selection button for efficient management:
- Select All will instantly selects all currently visible Markers. Default
- Deselect All will clears all selections at once.

Info
You can use filters to display a specific subset of Markers, then use Select All to quickly select just those Markers.
PDF Compression
Click the PDF Compression button to reveal compression slider.
Select your desired PDF Compression level.
- None
- Low
- Medium Default
- High
Higher compression results in smaller file sizes, while lower compression retains more detail but increases file size. Selecting None will produce the largest PDF file with no compression applied, whereas High will generate a significantly smaller file by applying maximum compression. Choose the level that best balances file size and quality for your needs.
Export PDF
Transform your selected markers into professionally formatted PDF documents with Pagemaker's export functionality. Click the Export PDF button or press ⇧ ⌘ P on your keyboard in the top toolbar to initiate the export process.
The PDF will automatically use your current:
- Search
- Status Selection
- Marker Type Selection
- Column Selection
- Checkbox Selection
Info
During export, Pagemaker processes each Marker's metadata and imagery, formatting them into a cohesive document.
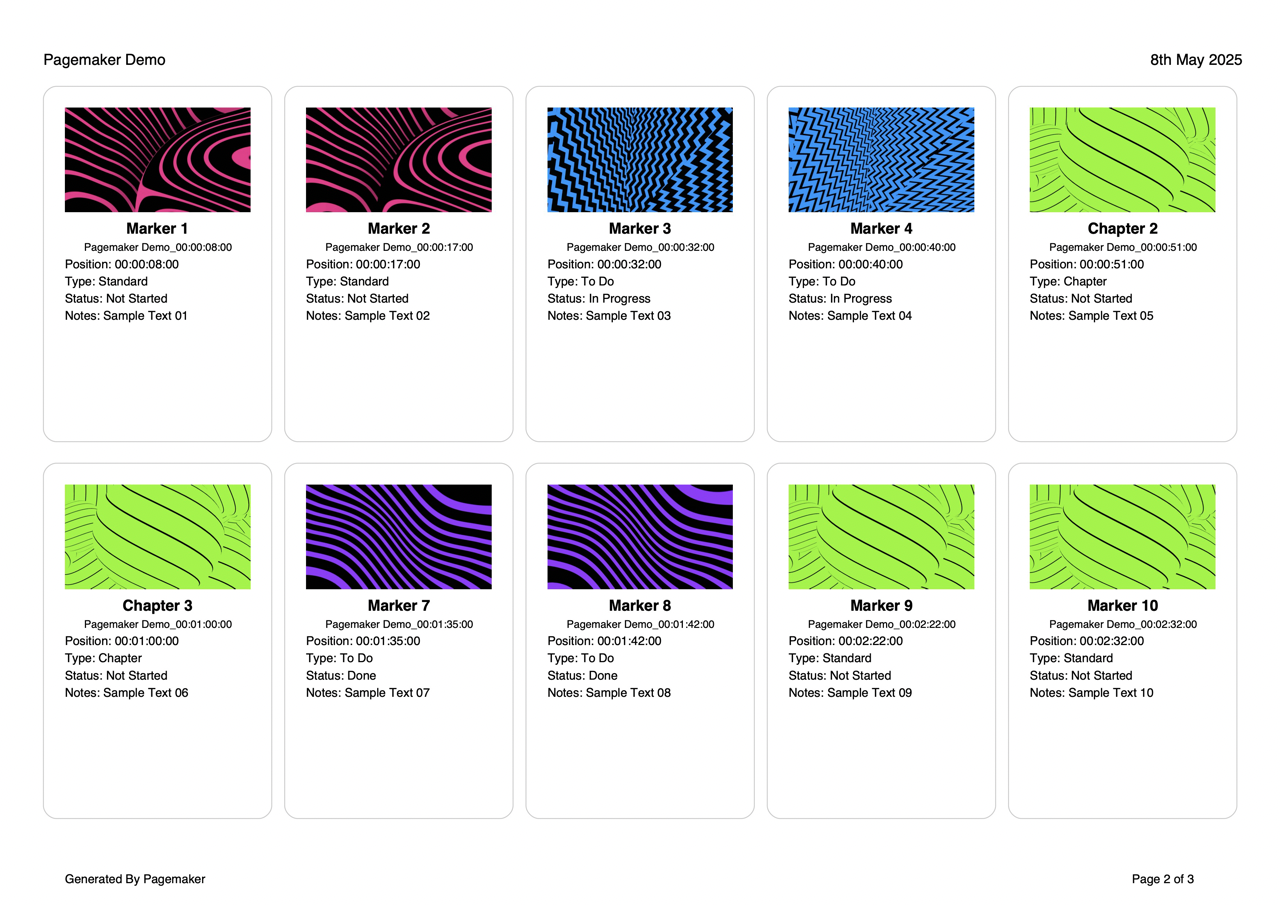
The PDF will begin with a title page that includes a project summary, date, and filter details. Marker cards will be organised based on the selected column layout: portrait orientation will be used for layouts with 1 Column, 2 Columns, or 3 Columns, while landscape orientation will be applied for 4 Columns and 5 Columns formats.
Each page will feature consistent headers and footers displaying the project name and page numbers. Within each marker card, the following details will be presented: images, colour palettes (when available), names, IDs, positions, types, statuses, and accompanying notes.
The PDF export is automatically named using the format [ProjectName]-[Date]-[Time].pdf for easy identification and organisation. Once export completes, you can save it to your desired location.
Info
All exported PDFs are available in A4 size only.
Info
Pagemaker operates within an ephemeral session, meaning no settings are preserved. The session resets when Pagemaker's window is closed, the Reload button is clicked, or ⌘ R is pressed.
Info
Pagemaker offers basic support for emojis. During PDF export, emojis are automatically converted into descriptive text. For example, 🔥 Metaburner will be rendered as [fire] Metaburner.
Behind the Name: Pagemaker
The name Pagemaker draws from fond memories of my teenage years in the 1990s. During high school, PageMaker 6.0 became my gateway into desktop publishing—transforming simple school reports into thoughtfully designed documents. This early experience kindled my appreciation for visual communication and the power of layout design. By naming this module after that influential software, I honour a tool that shaped my creative understanding while providing today's users the ability to transform metadata data into elegant, shareable PDFs.
Contribution
Pagemaker was developed as an ‘as-is’ side project, driven by curiosity, experimentation, and a desire to create a proof of concept. While functional and stable, maintenance and feature additions will be minimal—no new paper sizes or features are planned, though critical bugs will be addressed as they arise. Community contributions are welcome through pull requests, provided they maintain all existing functionality, behaviour, theme, and styling without introducing breaking changes. The source code can be found here.
Customisations
For users requiring specific customisations related to style or layout, the Pagemaker.html file can be downloaded from the source code mentioned above and modified directly. Once customised, it should replace the existing file in the application directory at:
/Applications/Marker Data.app/Contents/Resources/Pagemaker.htmlThere will not be any guides or tutorials available due to the complexity of the codebase, as it delves into programming and development territory. Users may rely on AI tools or large language models to support their customisation efforts.
Disclaimer
PageMaker® is a registered trademark of Adobe Inc. References to PageMaker in this project are for historical context, fair use, and educational purposes, and do not imply any affiliation with or endorsement by Adobe Inc.