General Settings
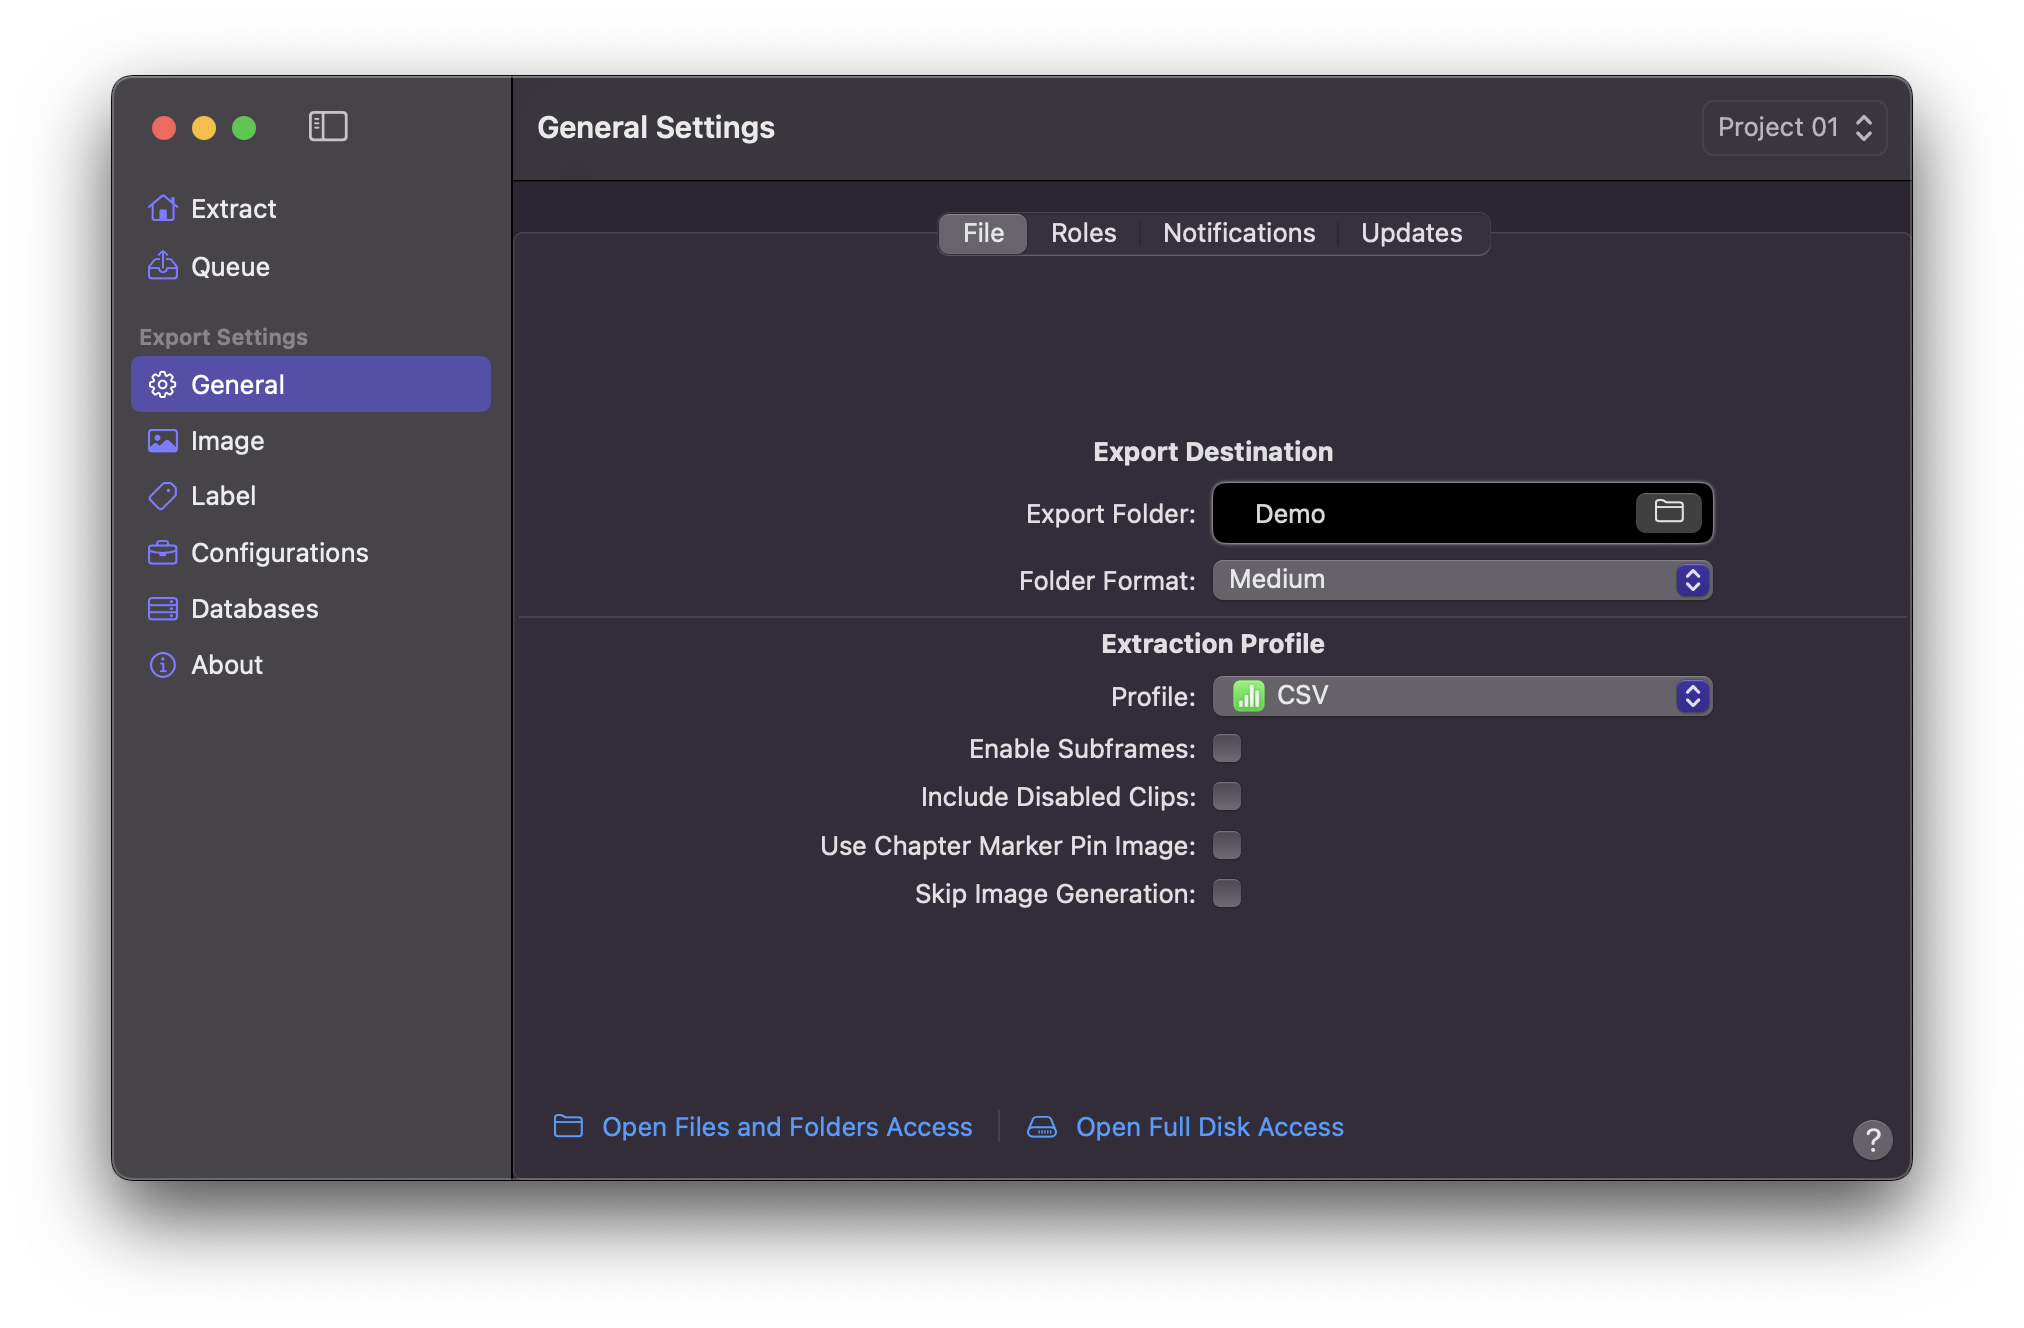
Export Destination
Destination
You can select your desired location by clicking on the Folder Icon. Upon right-clicking folder icon, Marker Data will show the Full Path associated with said folder.
Folder Format
The Folder Format feature allows you the capability to designate a folder naming scheme of your preference. In order to mitigate conflicts and potential overwrites of previously generated files, both the Medium and Long Folder Formats incorporate the inclusion of the Current Date and Current Time within the nomenclature. Consequently, each extraction yields a distinct and uniquely identified result.
Select your desired Folder Format.
- Short
- Medium Default
- Long
Info
Short
Marker Data Demo_V1
Medium
Marker Data Demo_V1 2023-03-21 09-45-22
Long
Marker Data Demo_V1 2023-03-21 09-45-22 [Notion]
Extraction Profile
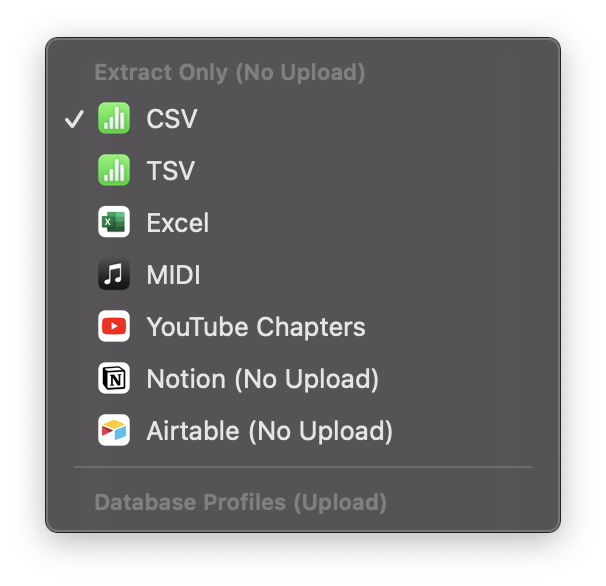
Profiles
Select your desired Extraction Profile.
- Extract Only (No Upload)
- CSV Default
- TSV
- Excel
- MIDI
- Markdown List
- SubRip Subtitle
- YouTube Chapters
- Compressor Chapters
- Notion (No Upload)
- Airtable (No Upload)
- Database Profiles (Upload)
- When you create a Database Profile, it will be listed here.
Enable Subframes
Final Cut Pro allows the you to view timecode at the subframe level.
Info
A subframe has 1/80 the duration of a video frame and is a more precise unit of reference when viewing or editing audio waveforms that are zoomed in to the sample level.
Checking Enable Subframes will allow Marker Data to include the subframes in the Marker ID.
Info
Enable Subframes will only work for Timeline and Timecode under Naming Mode.
Include Disabled Clips
Checking Include Disabled Clips will allow Marker Data to include markers from disabled clips.
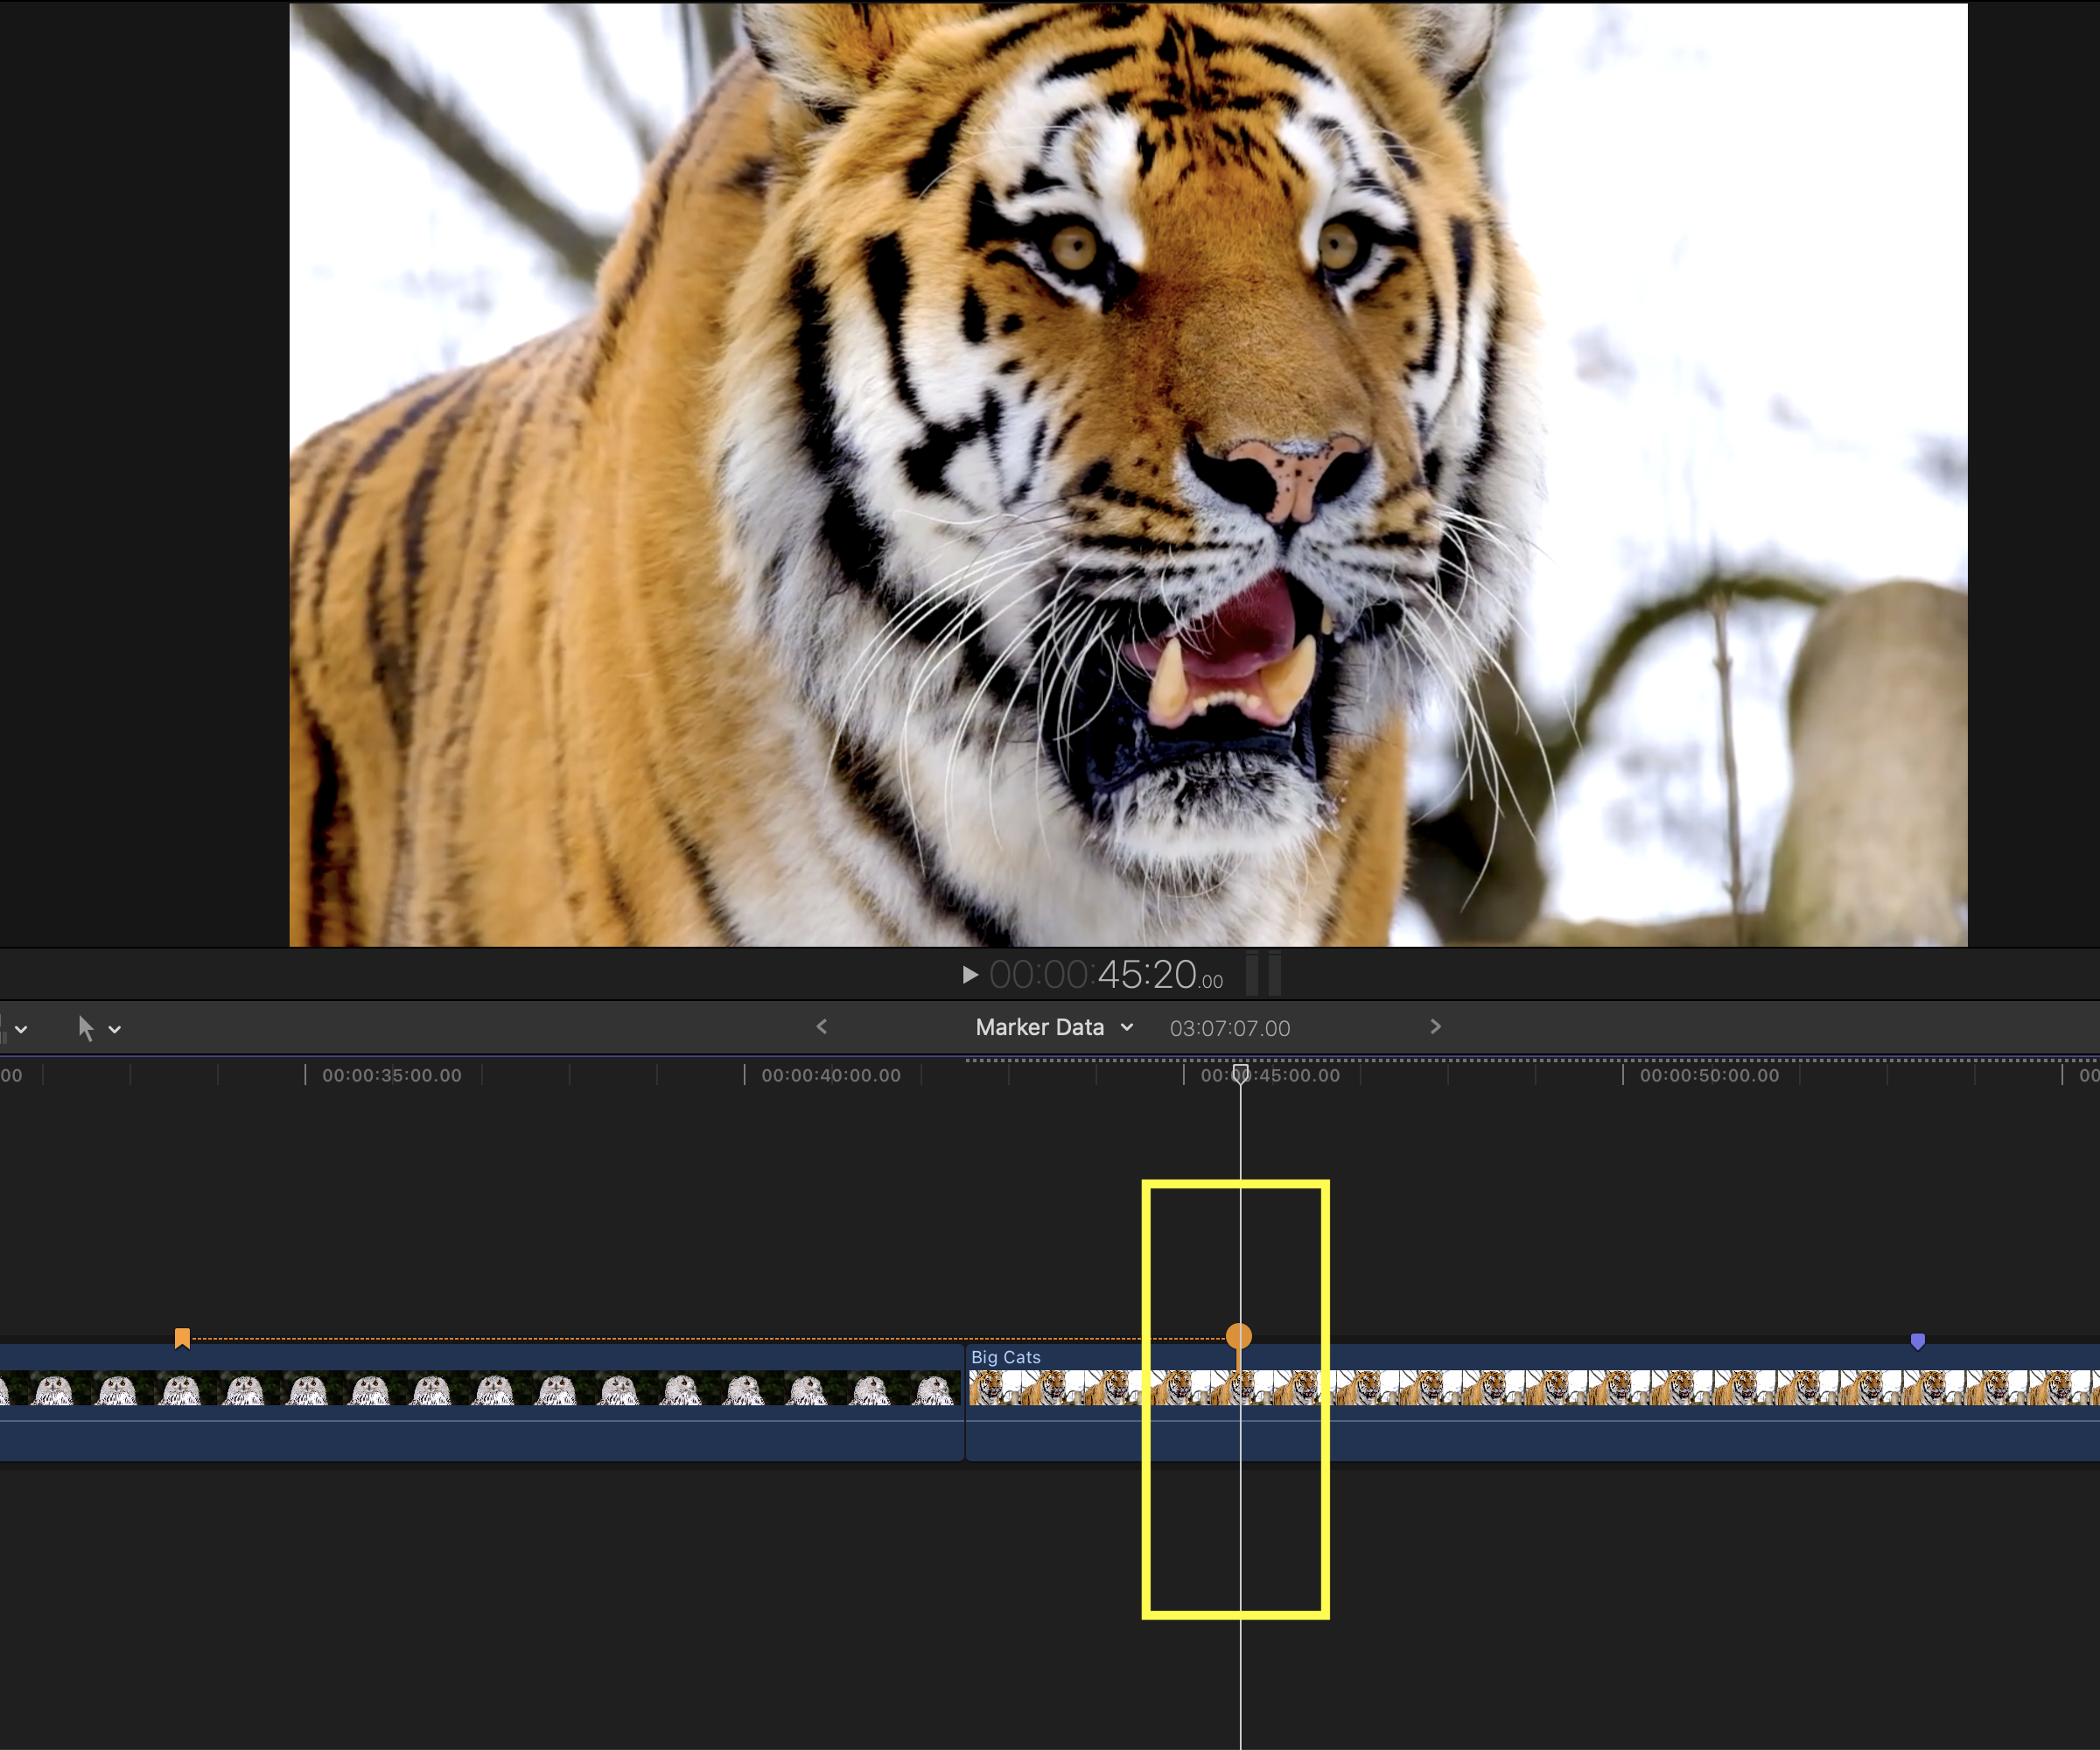
Use Chapter Marker Pin Image
Enabling the Use Chapter Marker Pin Image feature permits Marker Data to utilise the location of the Chapter Pin for image extraction.
Info
In both states, chapter markers's timecode would be identical on both image labels and in the data set. When Use Chapter Marker Pin Image is Enable, only the image will change.
Skip Image Generation
By
Default
Marker Data will always look for accompanying movie file (.mov or .mp4) in directory where the .fcpxmld or .fcpxml resides. Activating the Skip Image Generation option allows Marker Data to circumvent the inclusion of the movie file during processing.
This option is applicable in situations wherein:
- You do not require exporting a movie file.
- You do not require extraction of images.
Open Files and Folders Access
Select the Open Files and Folders Access link to open macOS's Files and Folders Access Settings.
Open Full Disk Access
Select the Open Full Disk Access link to open macOS's Full Disk Access Settings.
Info
Due to stringent security protocols implemented within macOS, you will encounter a prompt necessitating your authorisation to grant Files and Folders Access to Marker Data upon initial extraction. In the eventuality of managing multiple Configurations with varying Export Destination settings scattered across your local drive, you can confer Marker Data with Full Disk Access privileges.
Roles
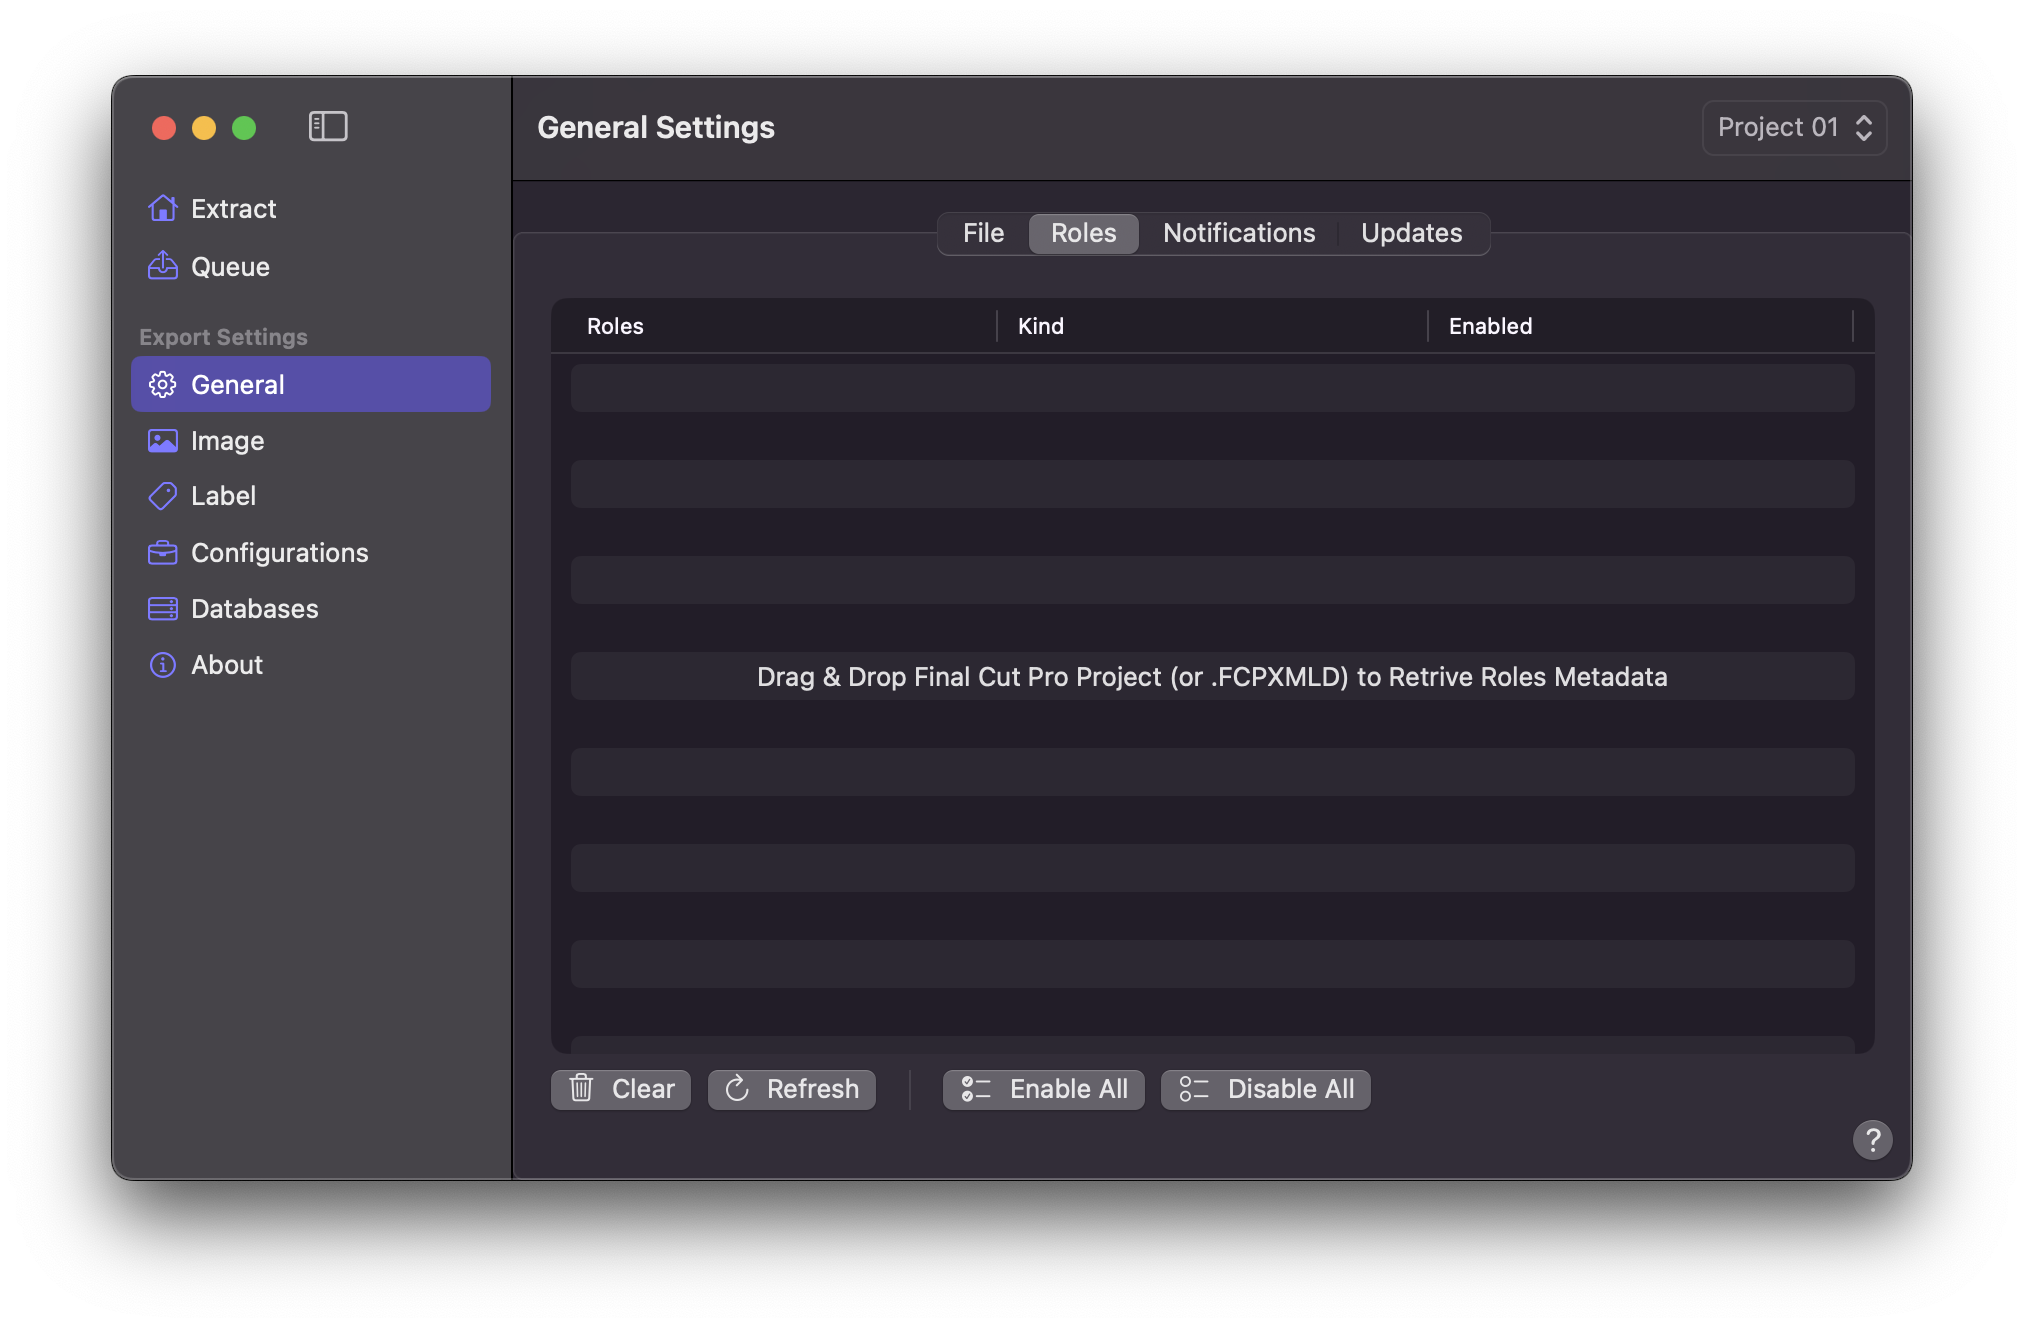
By Default , Marker Data extracts all roles. However, the Role tab permits targeted extractions based on your specific role selections. The Role tab is always synchronised with the Roles tab of the Workflow Extension. Should you wish to save your roles selection, you may perform Update Active Configuration to preserve your choices.
Clear
The Clear button removes any existing Roles that have been retrieved.
Refresh
Marker Data automatically synchronises role selections with the Workflow Extension’s Roles tab. However, delays in synchronisation may occur in large and complex timelines. In such instances, you may use the Refresh button to initiate and enforce a manual synchronisation.
Enable All
Pressing Enable All will check all roles selection.
Disable All
Pressing Disable All will uncheck all roles selection.
Notification
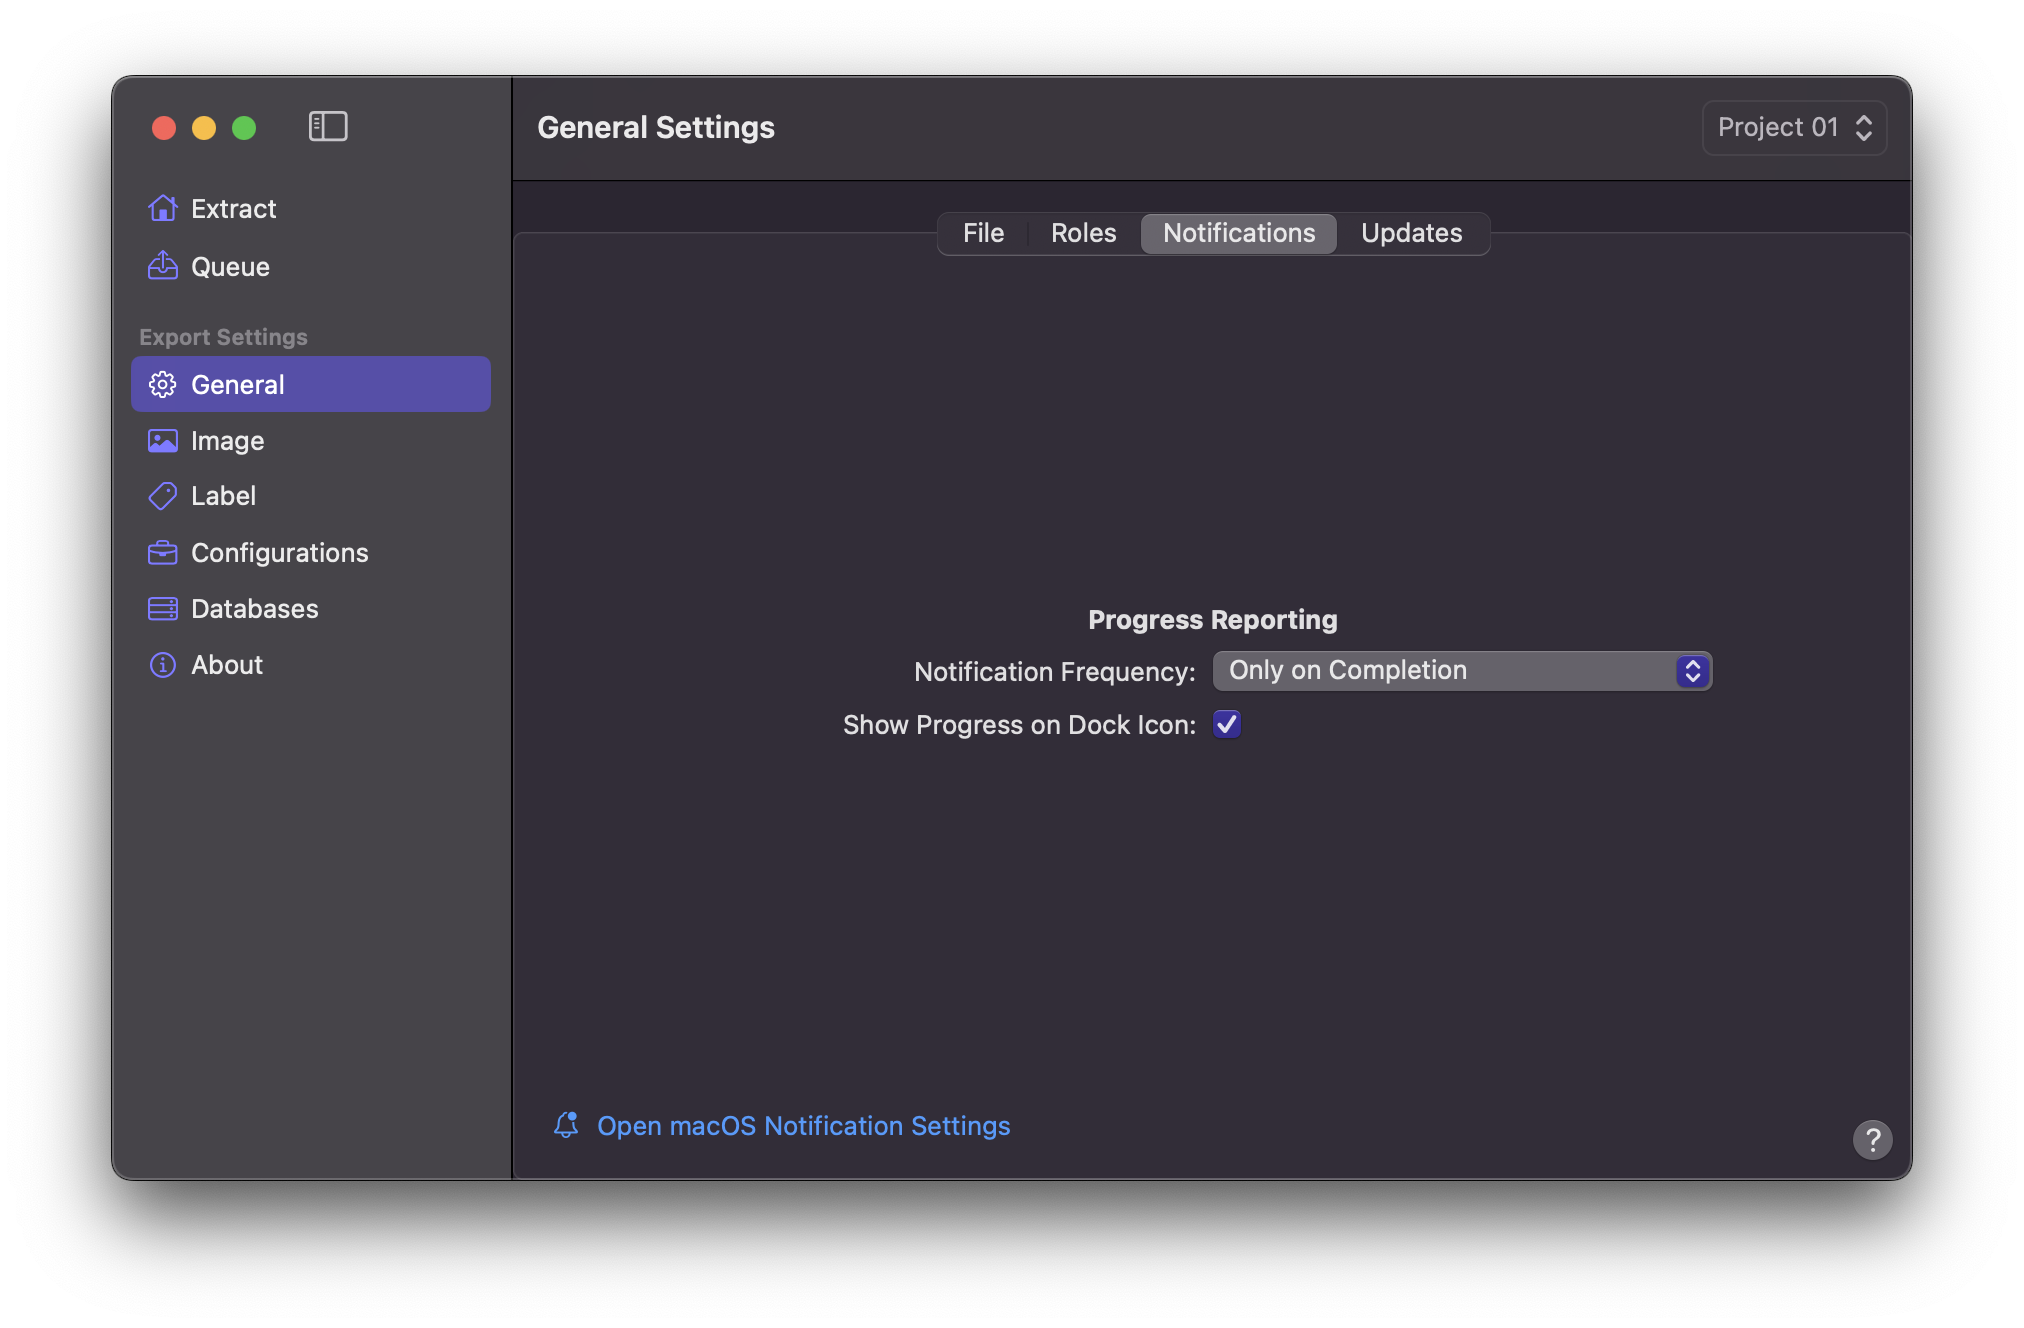
Notification Frequency
Marker Data seamlessly integrates with the native macOS Notifications framework, delivering timely alerts upon the successful completion of tasks.
Select your desired Notification Frequency.
- Never
- Only on Completion Default
- All Steps
Show Progress on Dock Icon
By Default Progress Bar is shown on Marker Data's dock icon.
Open macOS Notification Settings
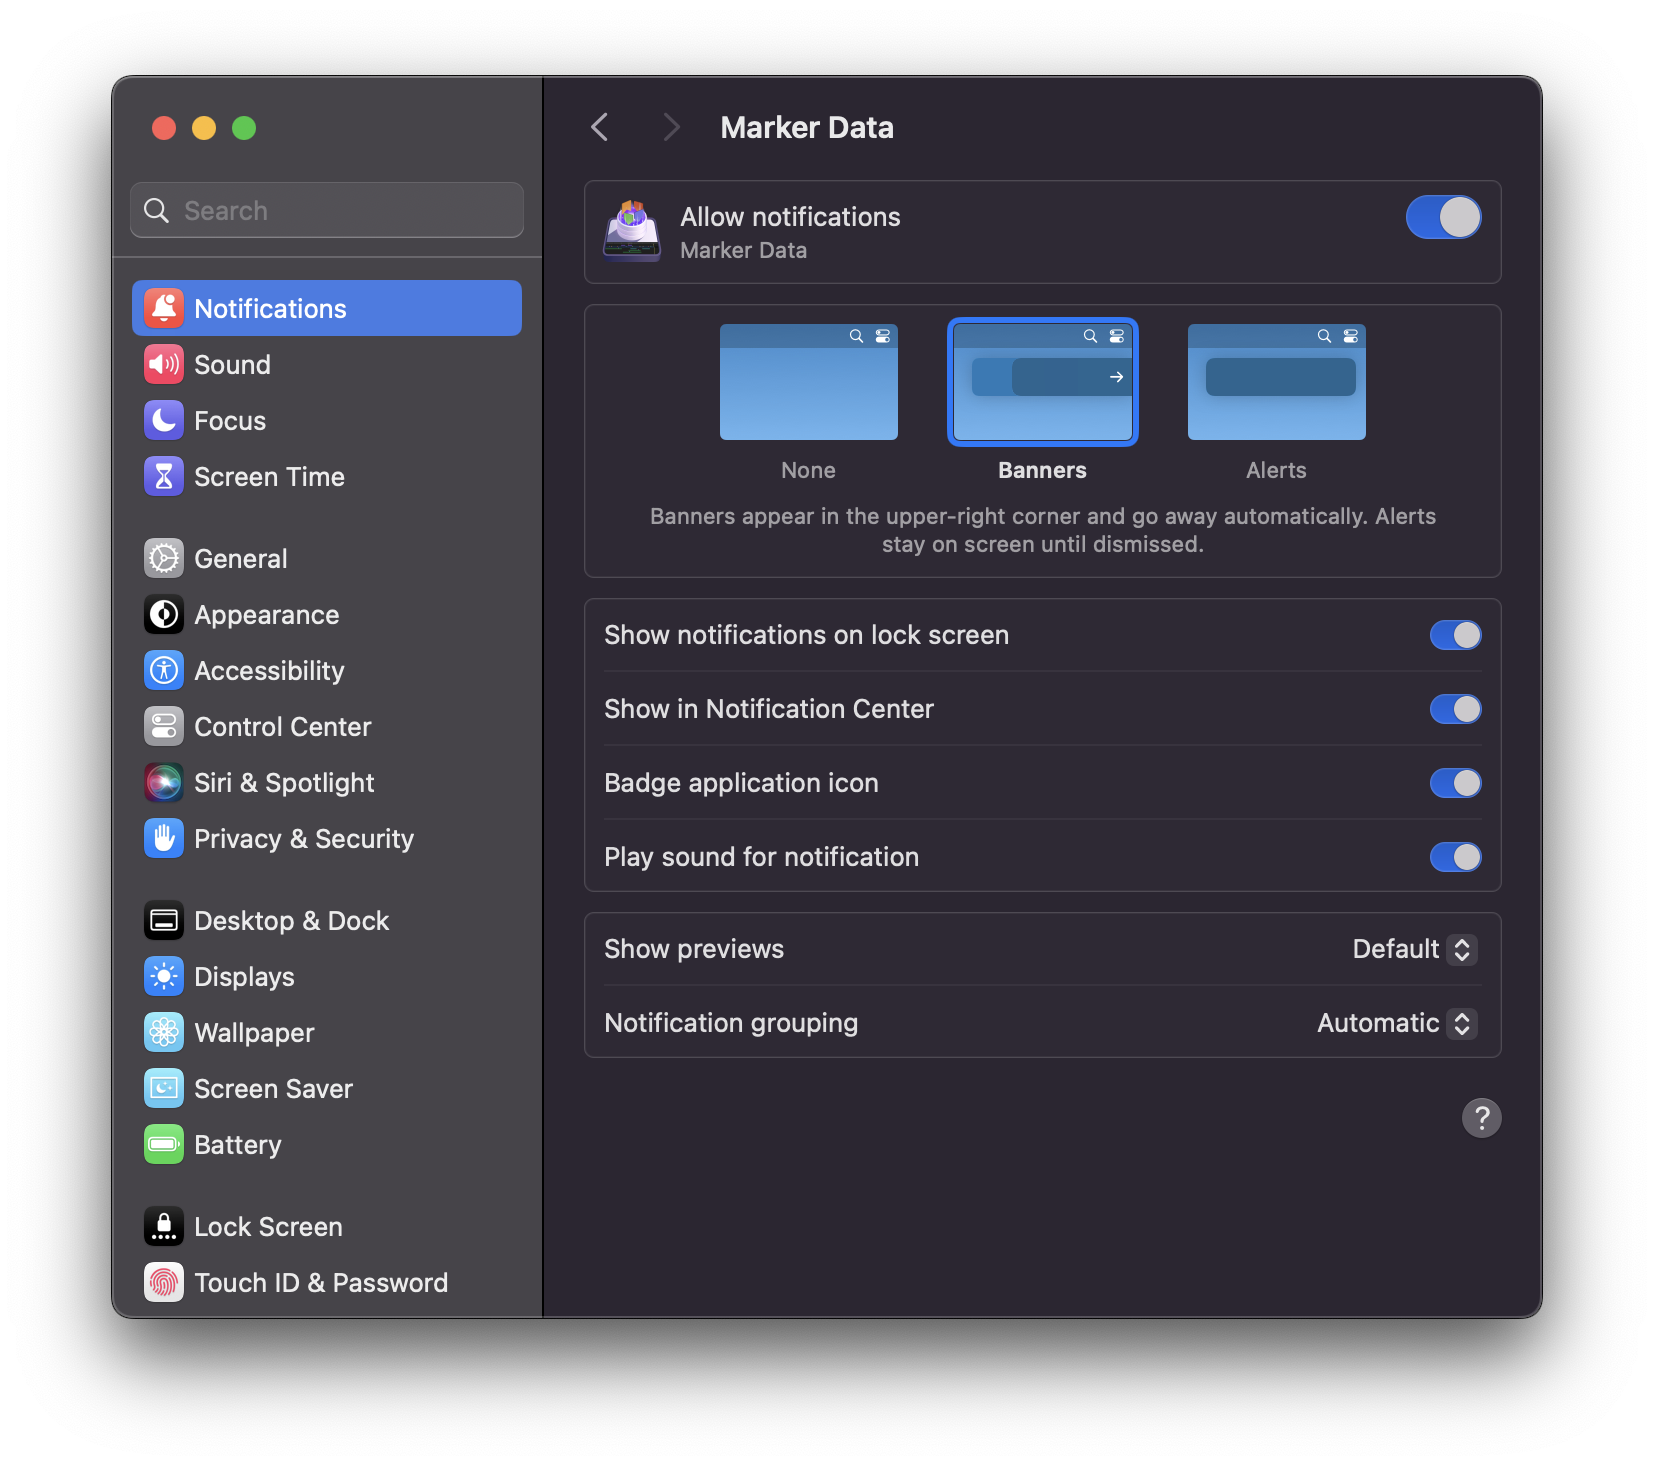
Select the Open macOS Notification Settings link to open macOS Notification Settings. Navigate to Marker Data to manage notification settings.
Info
Marker Data will only show up in the macOS Notification Settings solely after the initial prompting attempt. If Marker Data is the focused application, notifications won’t make a sound or appear on the screen.
Updates
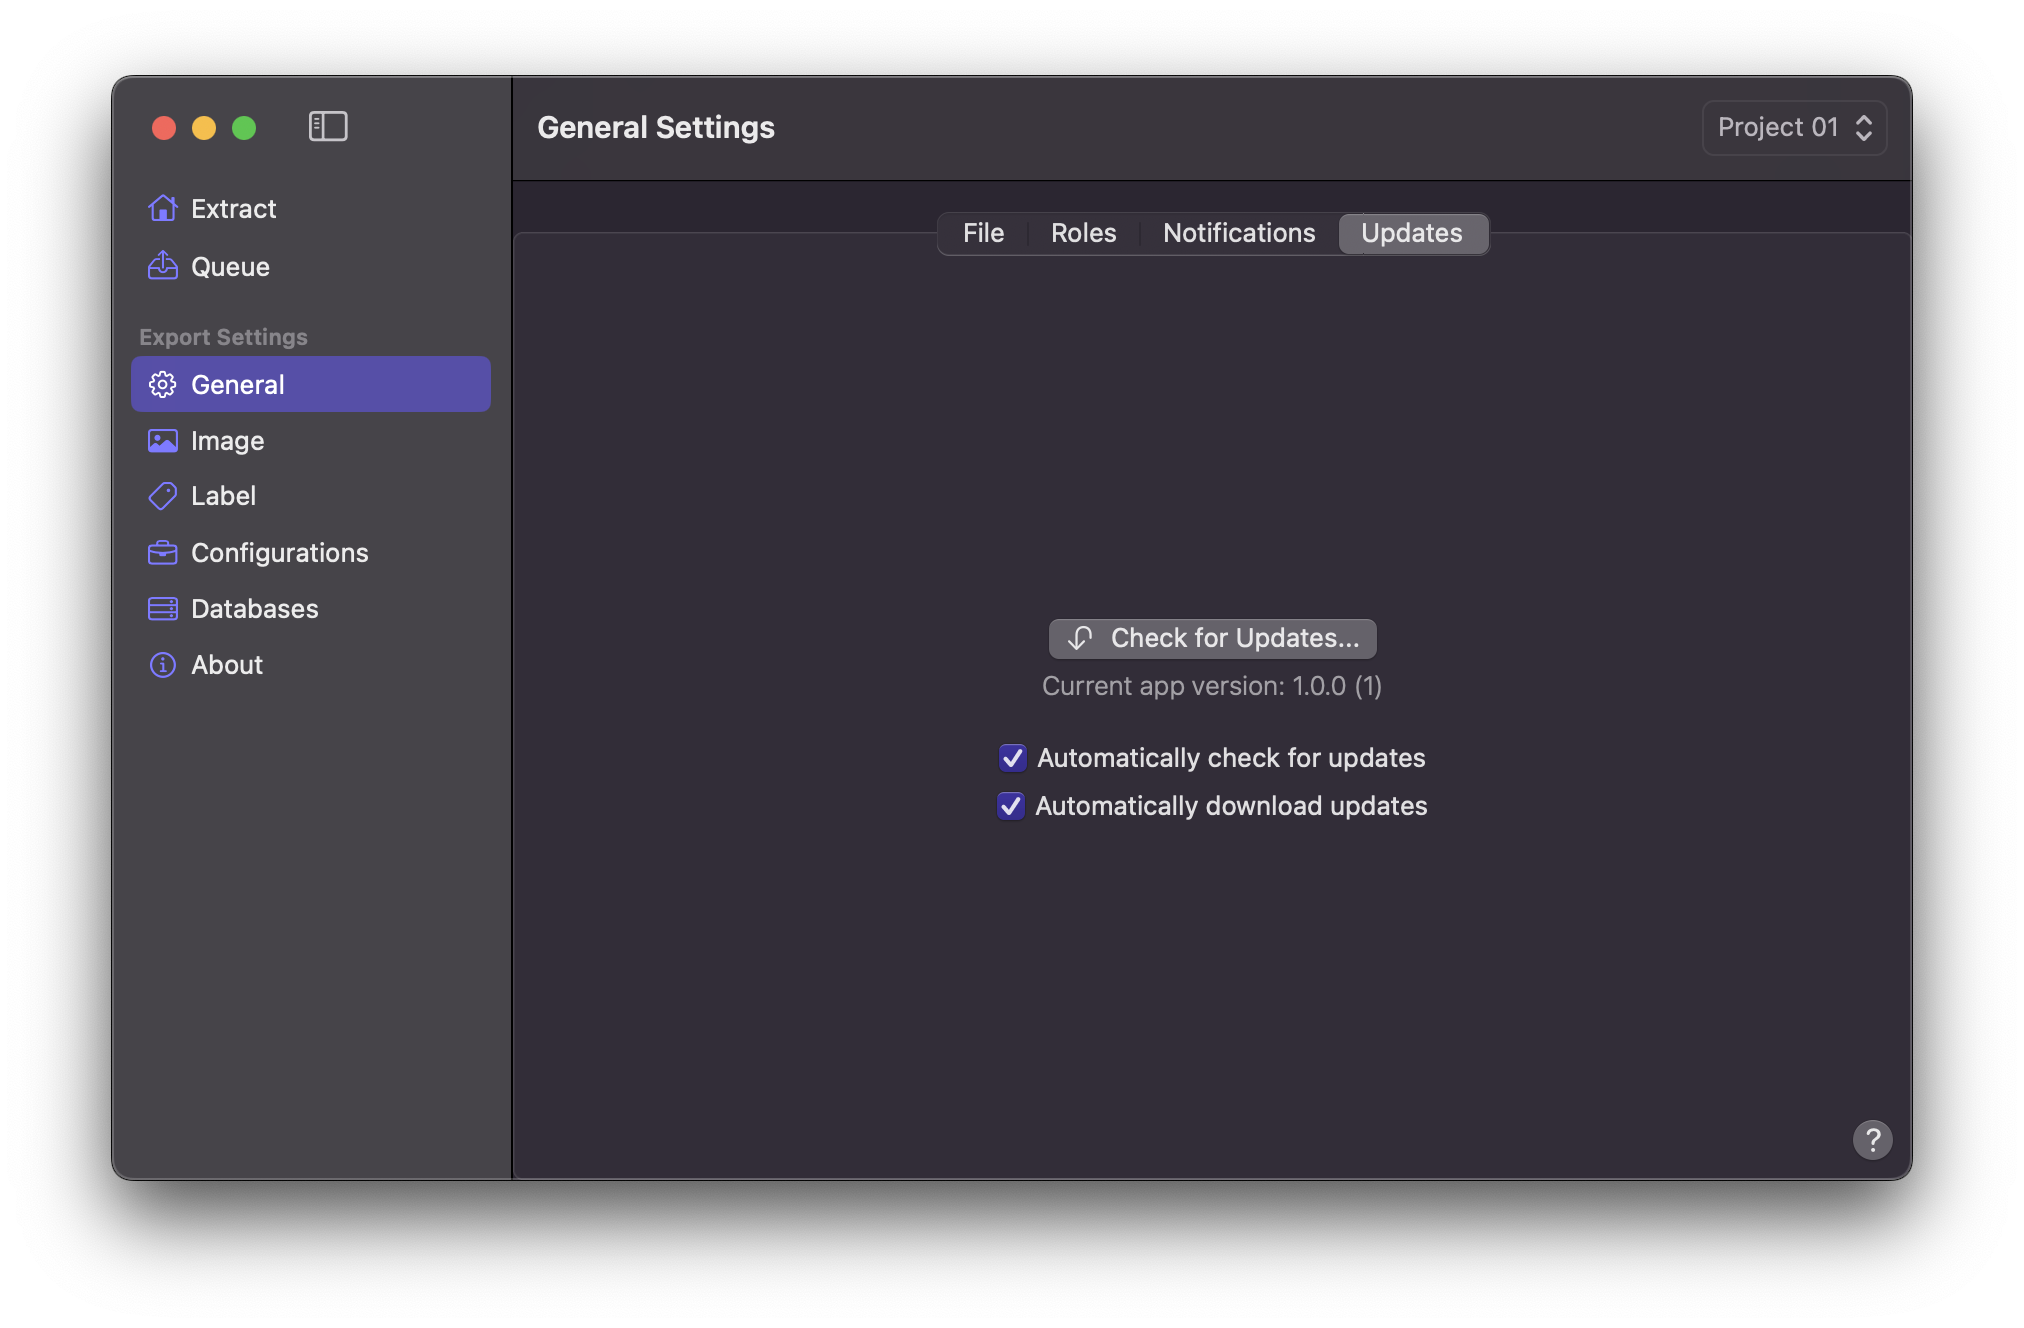
Check for Updates
Pressing Check for Updates button would check for the latest release for Marker Data.
Automatically check for updates
You can enable Automatically check for updates to automatically check for the latest release for Marker Data.
Automatically download updates
Enabling Automatically download updates would automatically download for the latest release of Marker Data.