#
Image Settings
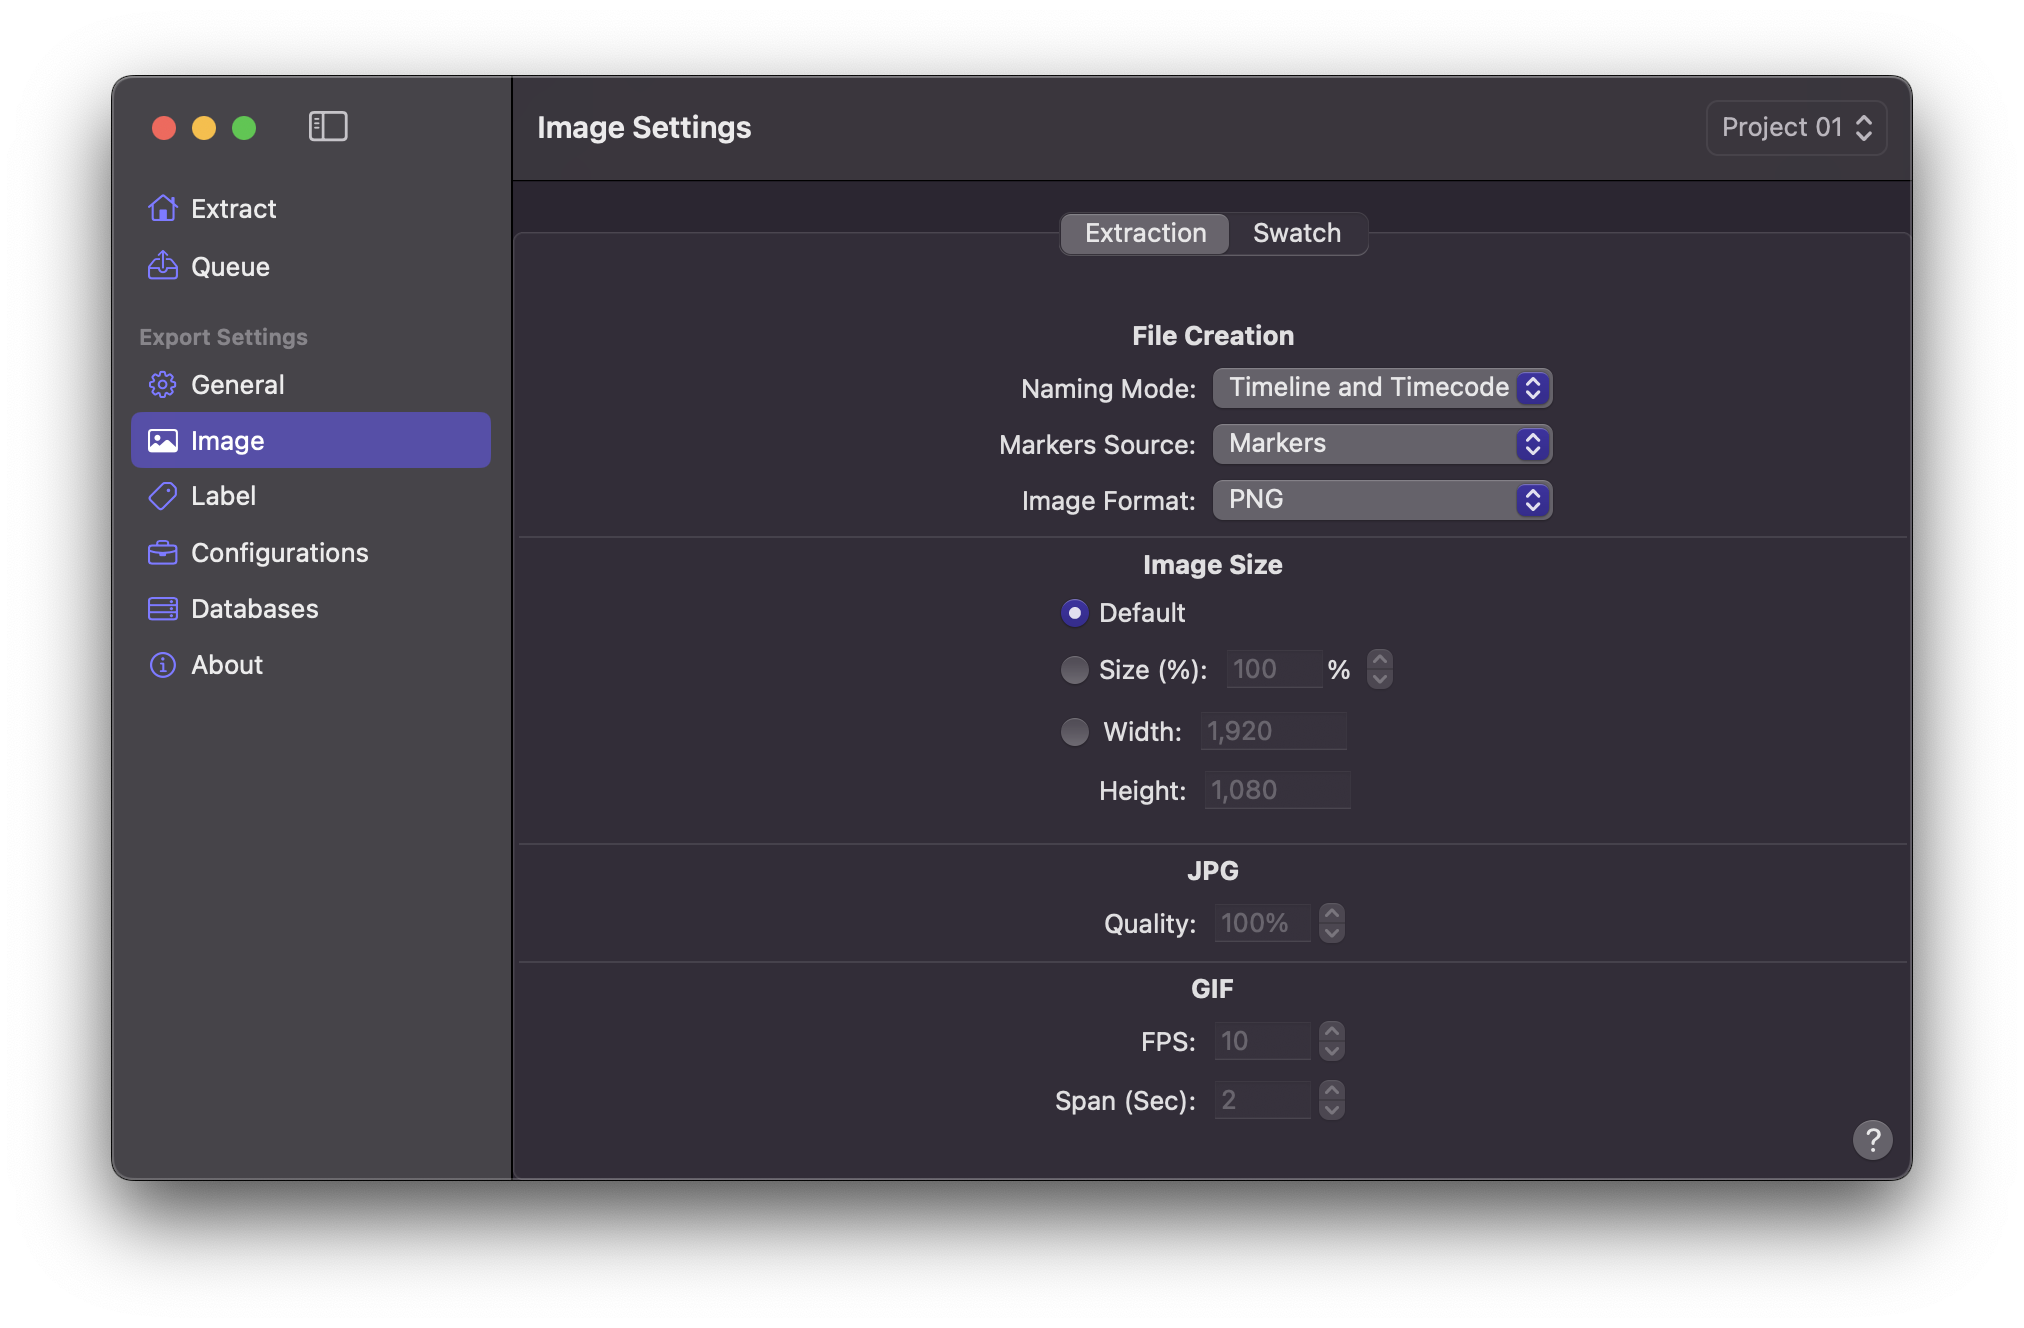
#
File Creation
#
Naming Mode
In the Naming Mode feature, you have the ability to designate your preferred Marker IDs and establish a distinctive nomenclature for image file names. By
Default
, the Marker Data function adopts the Marker's Timeline and Timecode as its primary Marker ID. To illustrate, if the timeline were denoted as Demo V1, the Marker ID generated by Marker Data would be Demo_V1_Timecode. This identifier is then employed for the corresponding image file name.
Alternatively, you can opt for Name or Notes as your preferred Marker ID, catering to diverse workflow requirements. Such choices are particularly advantageous for the creation of a Visual Effects (VFX) Database, as outlined in more detail here. In the cases of Name and Notes, it is advisable to input unique text values to ensure distinctiveness. In instances where text values are identical, Marker Data autonomously appends a numerical suffix to the filename for differentiation.
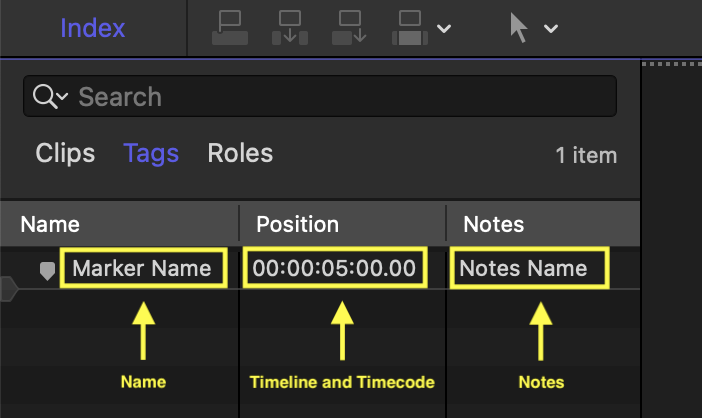
Select your desired Naming Mode.
- Timeline and Timecode Default
- Name
- Notes
#
Marker Source
Select your desired Marker Source.
- Marker Default
- Marker and Captions
- Caption
Warning
An error occurs during the extraction process when the Naming Mode is configured to Notes. This setting is incompatible with the Marker Source option when it is set to either Marker and Captions or Captions.
#
Image Format
By
Default
, the Marker Data application undertakes the extraction and exportation of image data in the PNG format, preserving still frames. You have the flexibility to opt for either the JPG format or, alternatively, animated GIFs in the export process.
Select your desired Image Format.
- PNG Default
- JPG
- GIF
Info
The selection of the GIF format may result in a substantial increase in the file size of the exported images.
#
Image Size
#
Default
In the majority of workflows, the Default parameter would be sufficient. You have the ability to customise your image dimensions to a greater extent by opting for either the Size parameter or specifying the Width & Height values.
#
Size (%)
The
Default
Configuration assigns a size percentage of 100 to both the PNG and JPG Image Formats. Conversely, for the GIF format, the
Default
size percentage is established at 50.
To illustrate, in the scenario where the original exported video file possesses dimensions of 1920 x 1080, adjusting the Size (%) parameter to 50 would yield extracted images with dimensions reduced to 960 x 540.
#
Width
By Default , the width selection feature is deactivated in Marker Data, with the application automatically adopting the precise dimensions from the exported video file. Activating this option allows you to manually constrain the image width while preserving its inherent aspect ratio.
#
Height
By Default , the height selection feature is deactivated in Marker Data, with the application automatically adopting the precise dimensions from the exported video file. Activating this option allows you to manually constrain the image height while preserving its inherent aspect ratio.
Info
We advise against setting the Size (%) value to exceed 60 when working with the GIF Image Format.
#
JPG
#
Quality
You have the flexibility to designate distinct Quality values for the JPG Image Format, with lower values resulting in reduced file sizes. Notably, the Quality setting is initially inaccessible, appearing greyed out by
Default
, and exclusively applicable to the JPG format. The
Default
setting for Quality is established at 100.
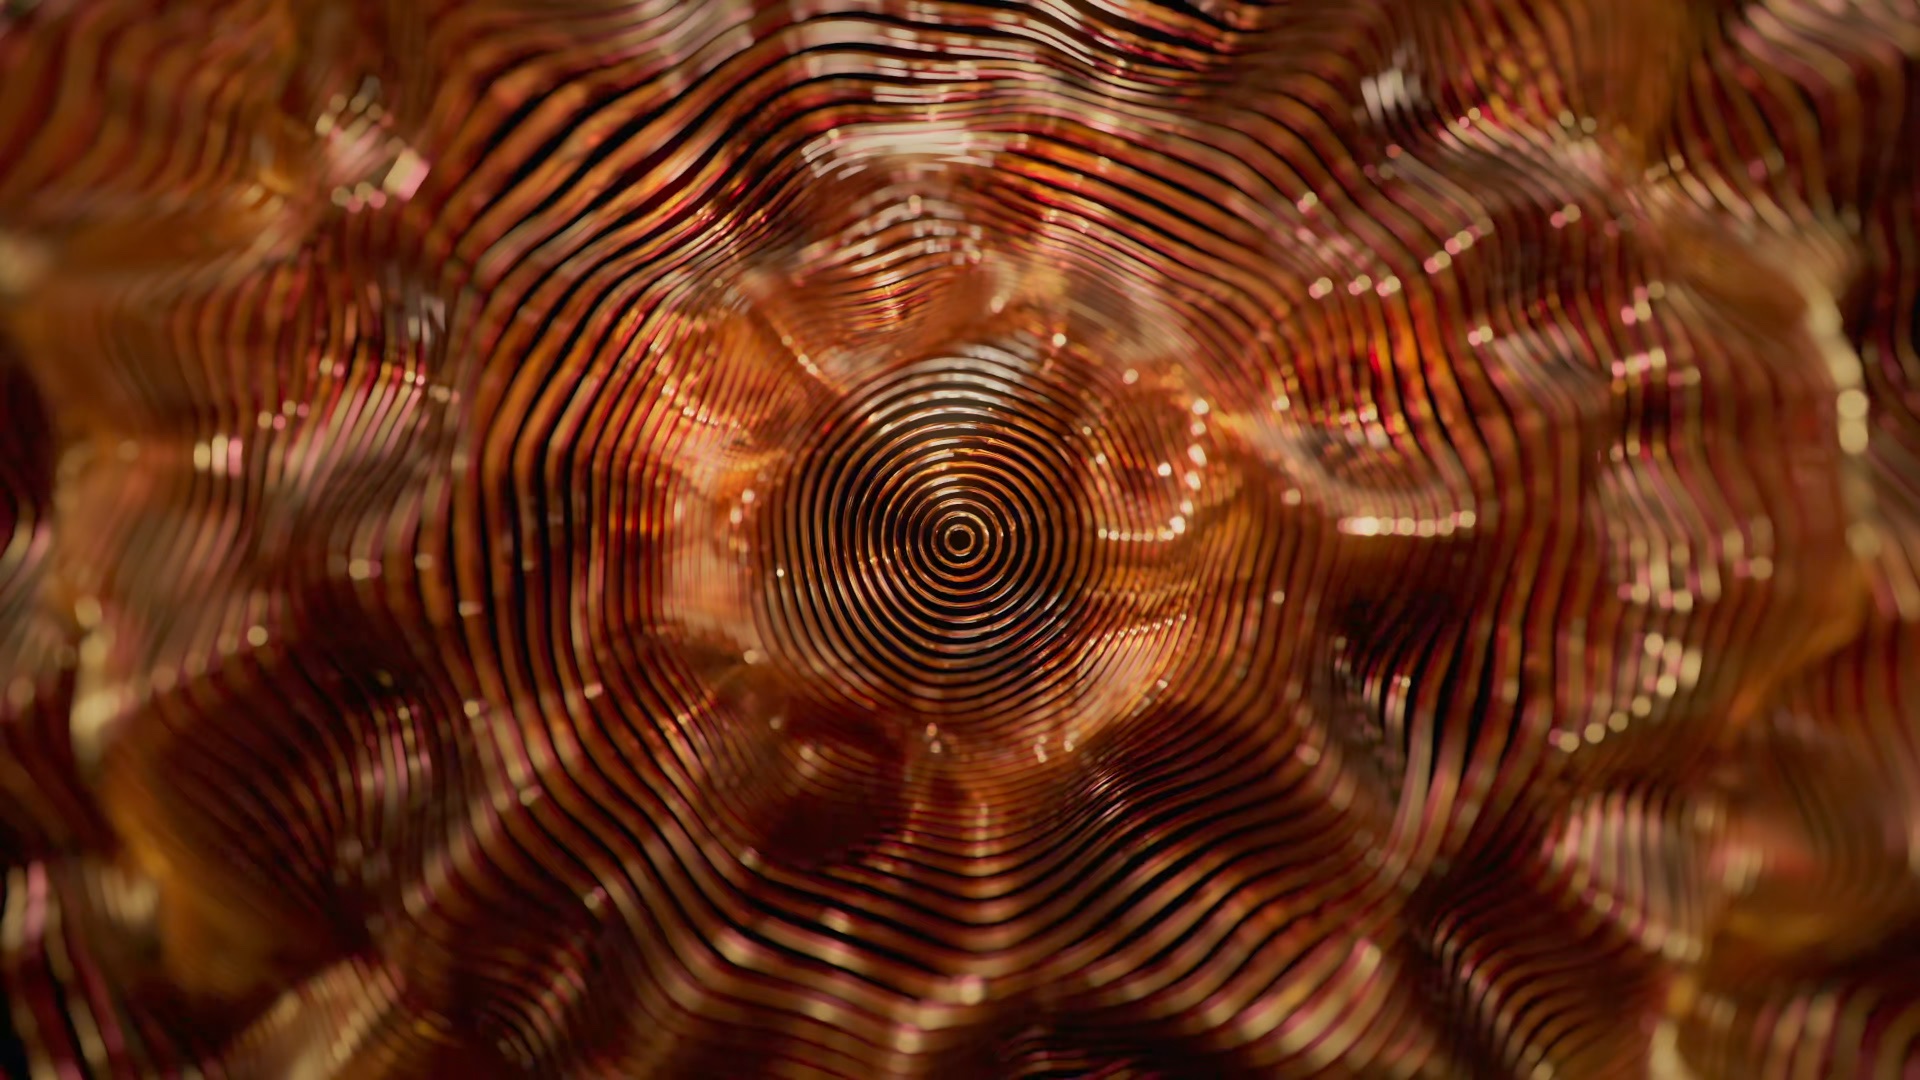
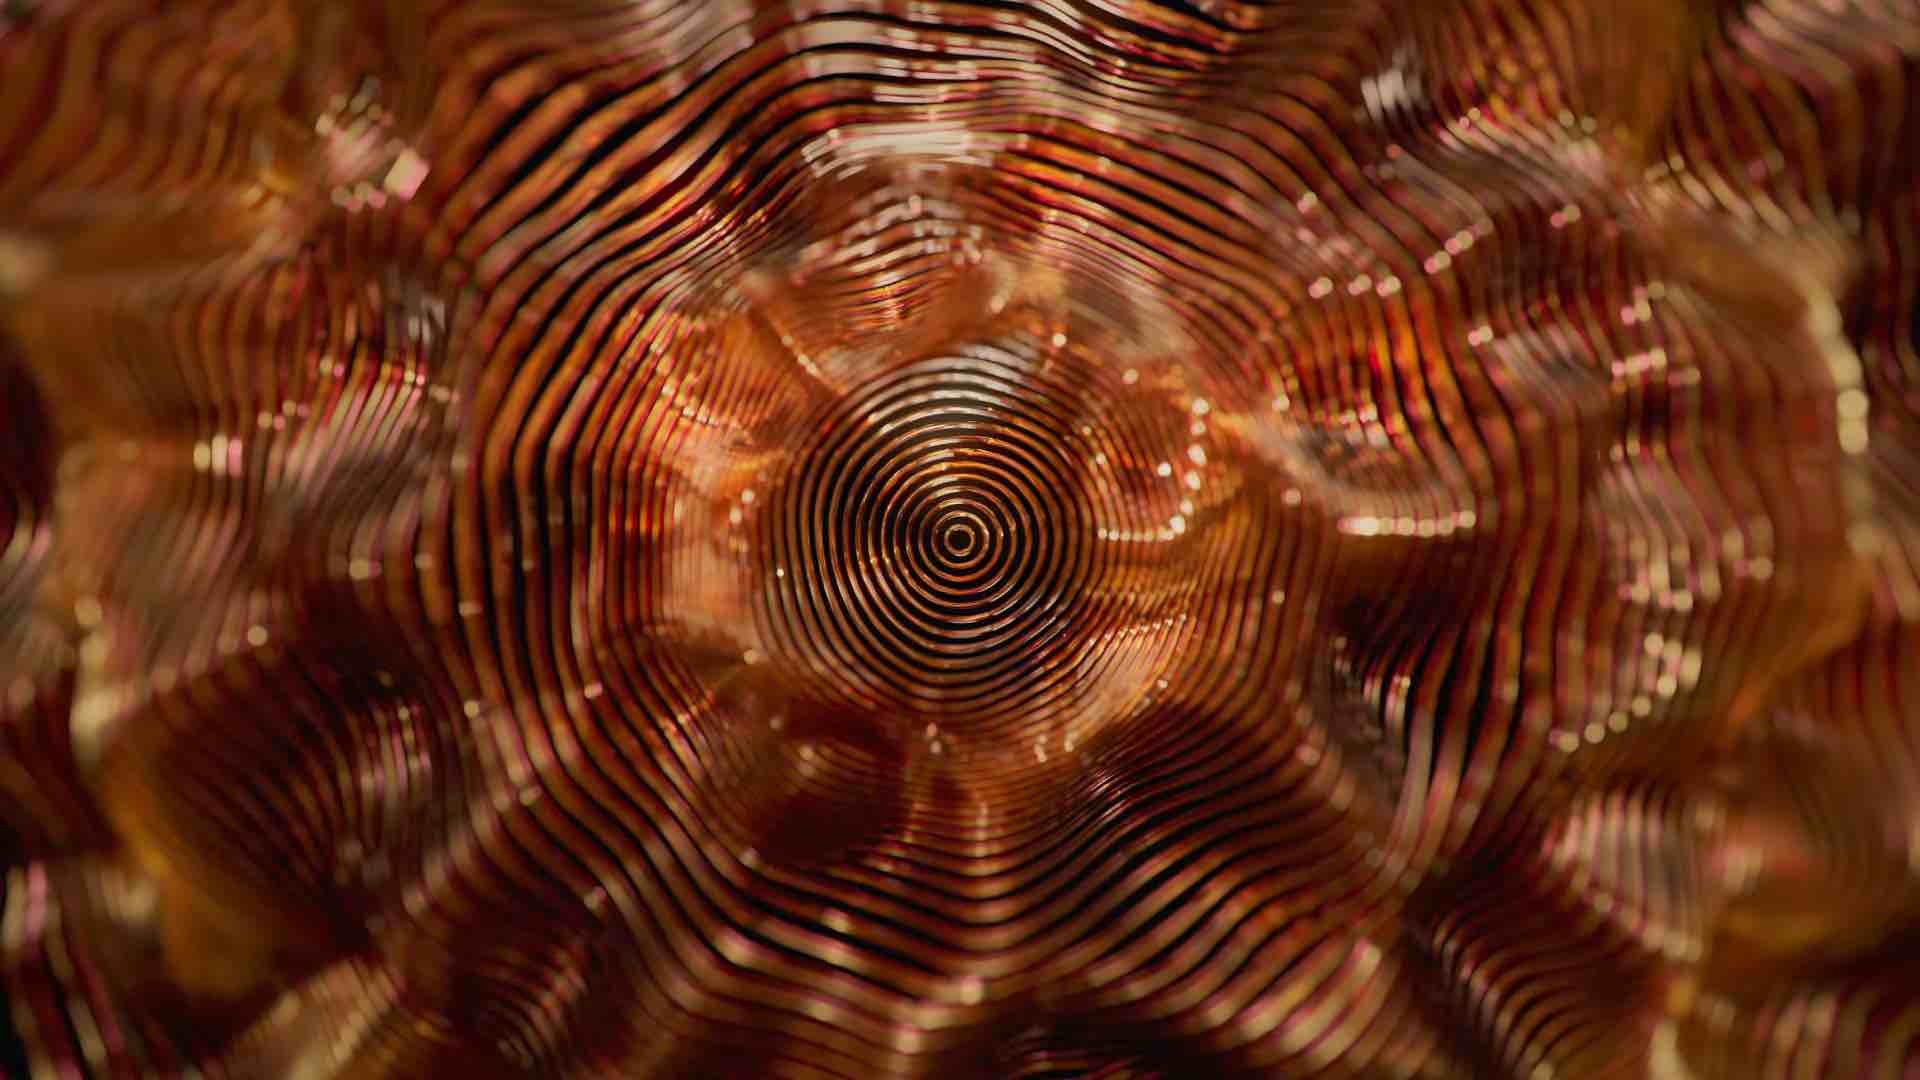
Info
To conduct a thorough analysis of file size and compression, you can right-click on the above mentioned images and subsequently save them for comparative evaluation.
#
GIF
#
FPS
The Frames per Second (FPS) parameter is initially disabled by
Default
, appearing greyed out. This functionality is exclusively applicable to the GIF Image Format, with a
Default
value set at 10.
#
Span (Sec)
The Size (%) parameter is initially disabled, displaying in a greyed out state by
Default
. This option is exclusive to the GIF Image Format, with the
Default
value pre-set at 2.
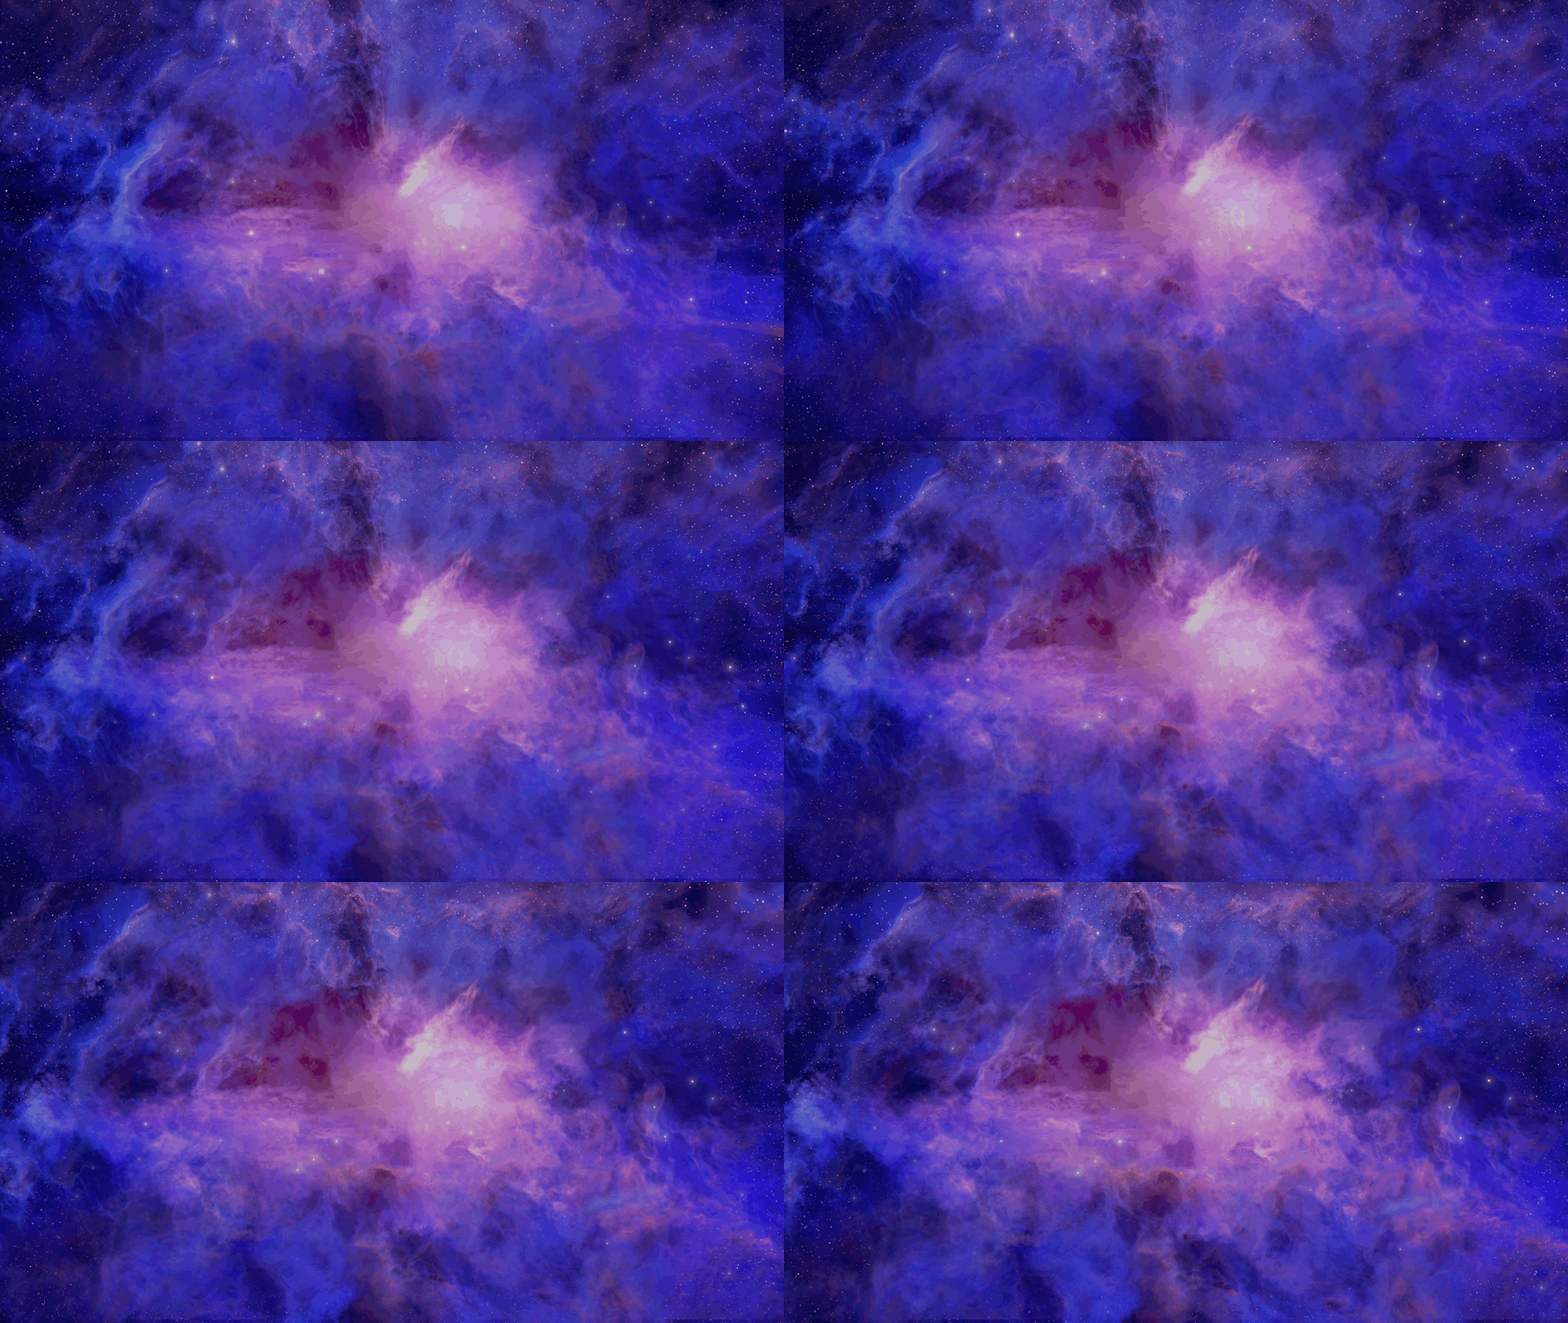
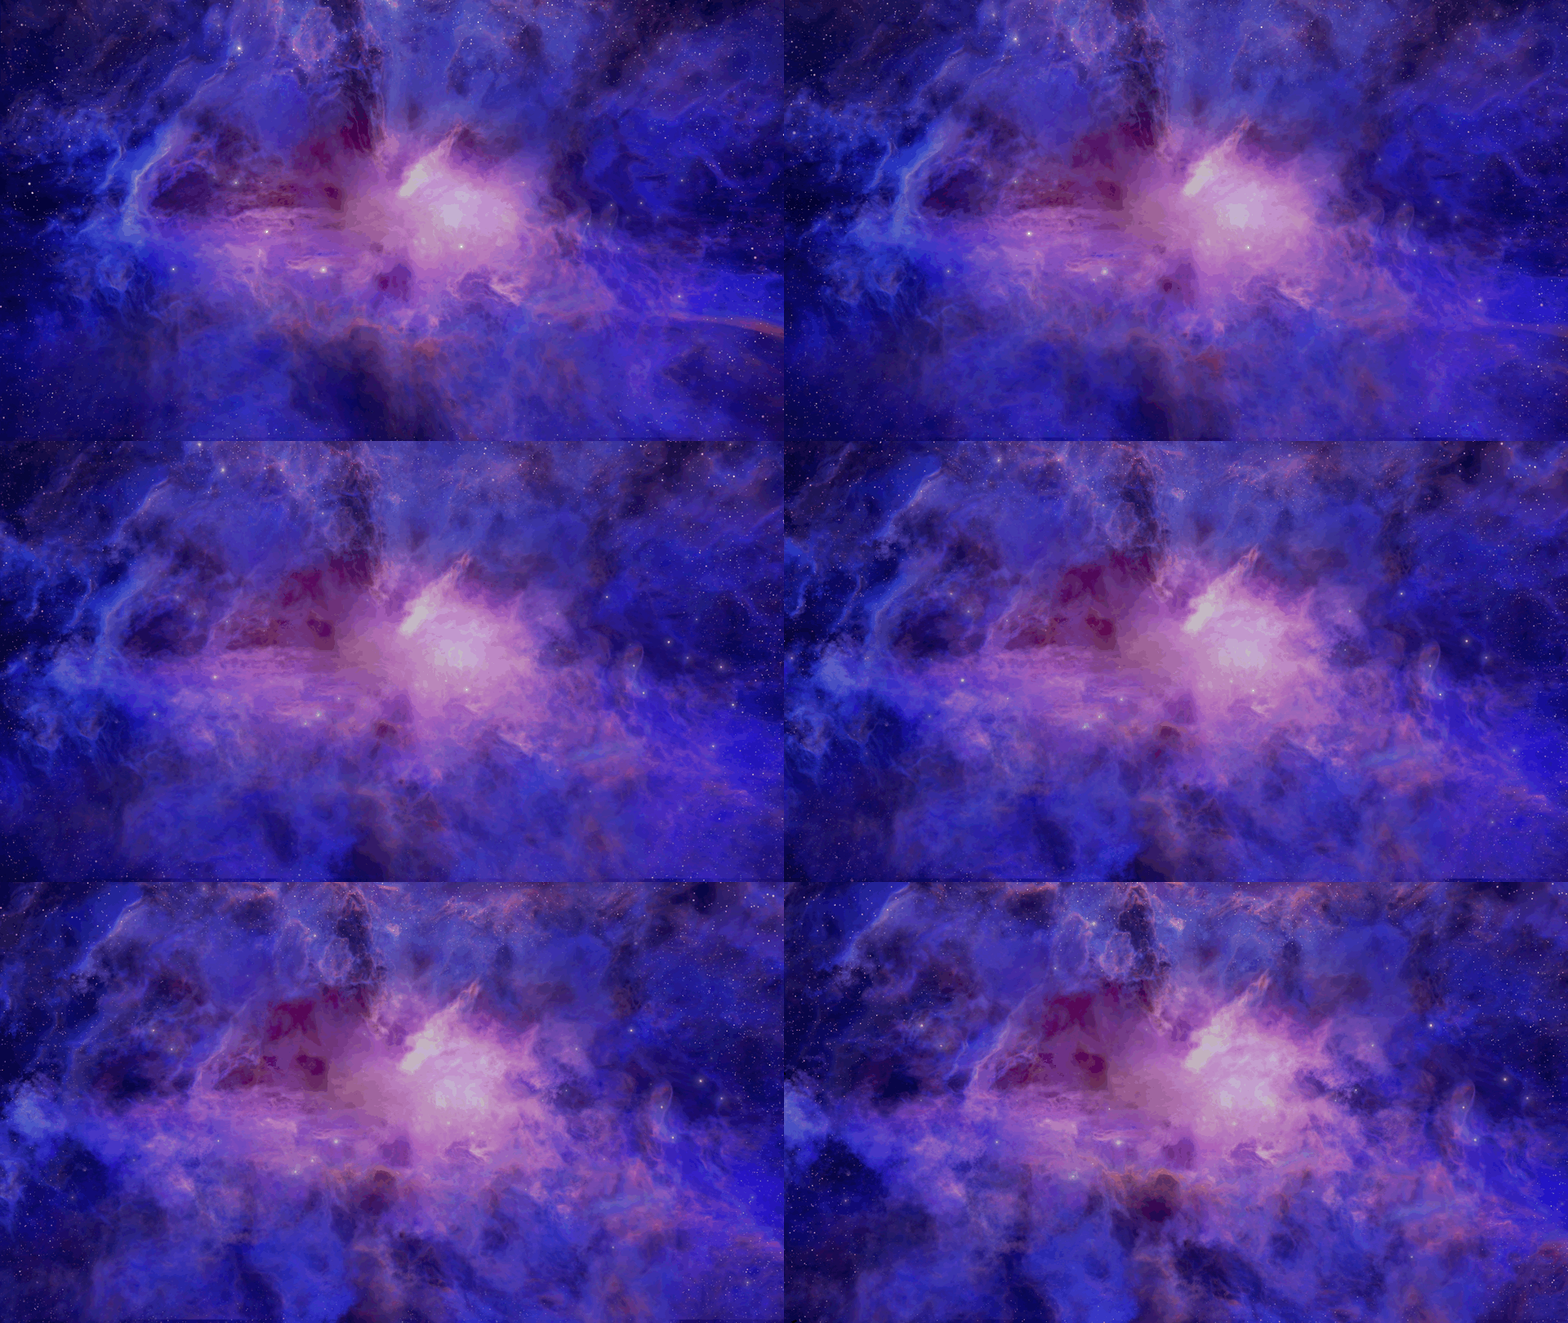
Info
We advise against configuring the Frames per Second (FPS) value to exceed 15 and caution against setting the Size (%) value to surpass 3 when working with the GIF Image Format."
Info
To facilitate a comprehensive file size comparison, you can right-click on the images above and save them to your local computer.
#
Swatch
#
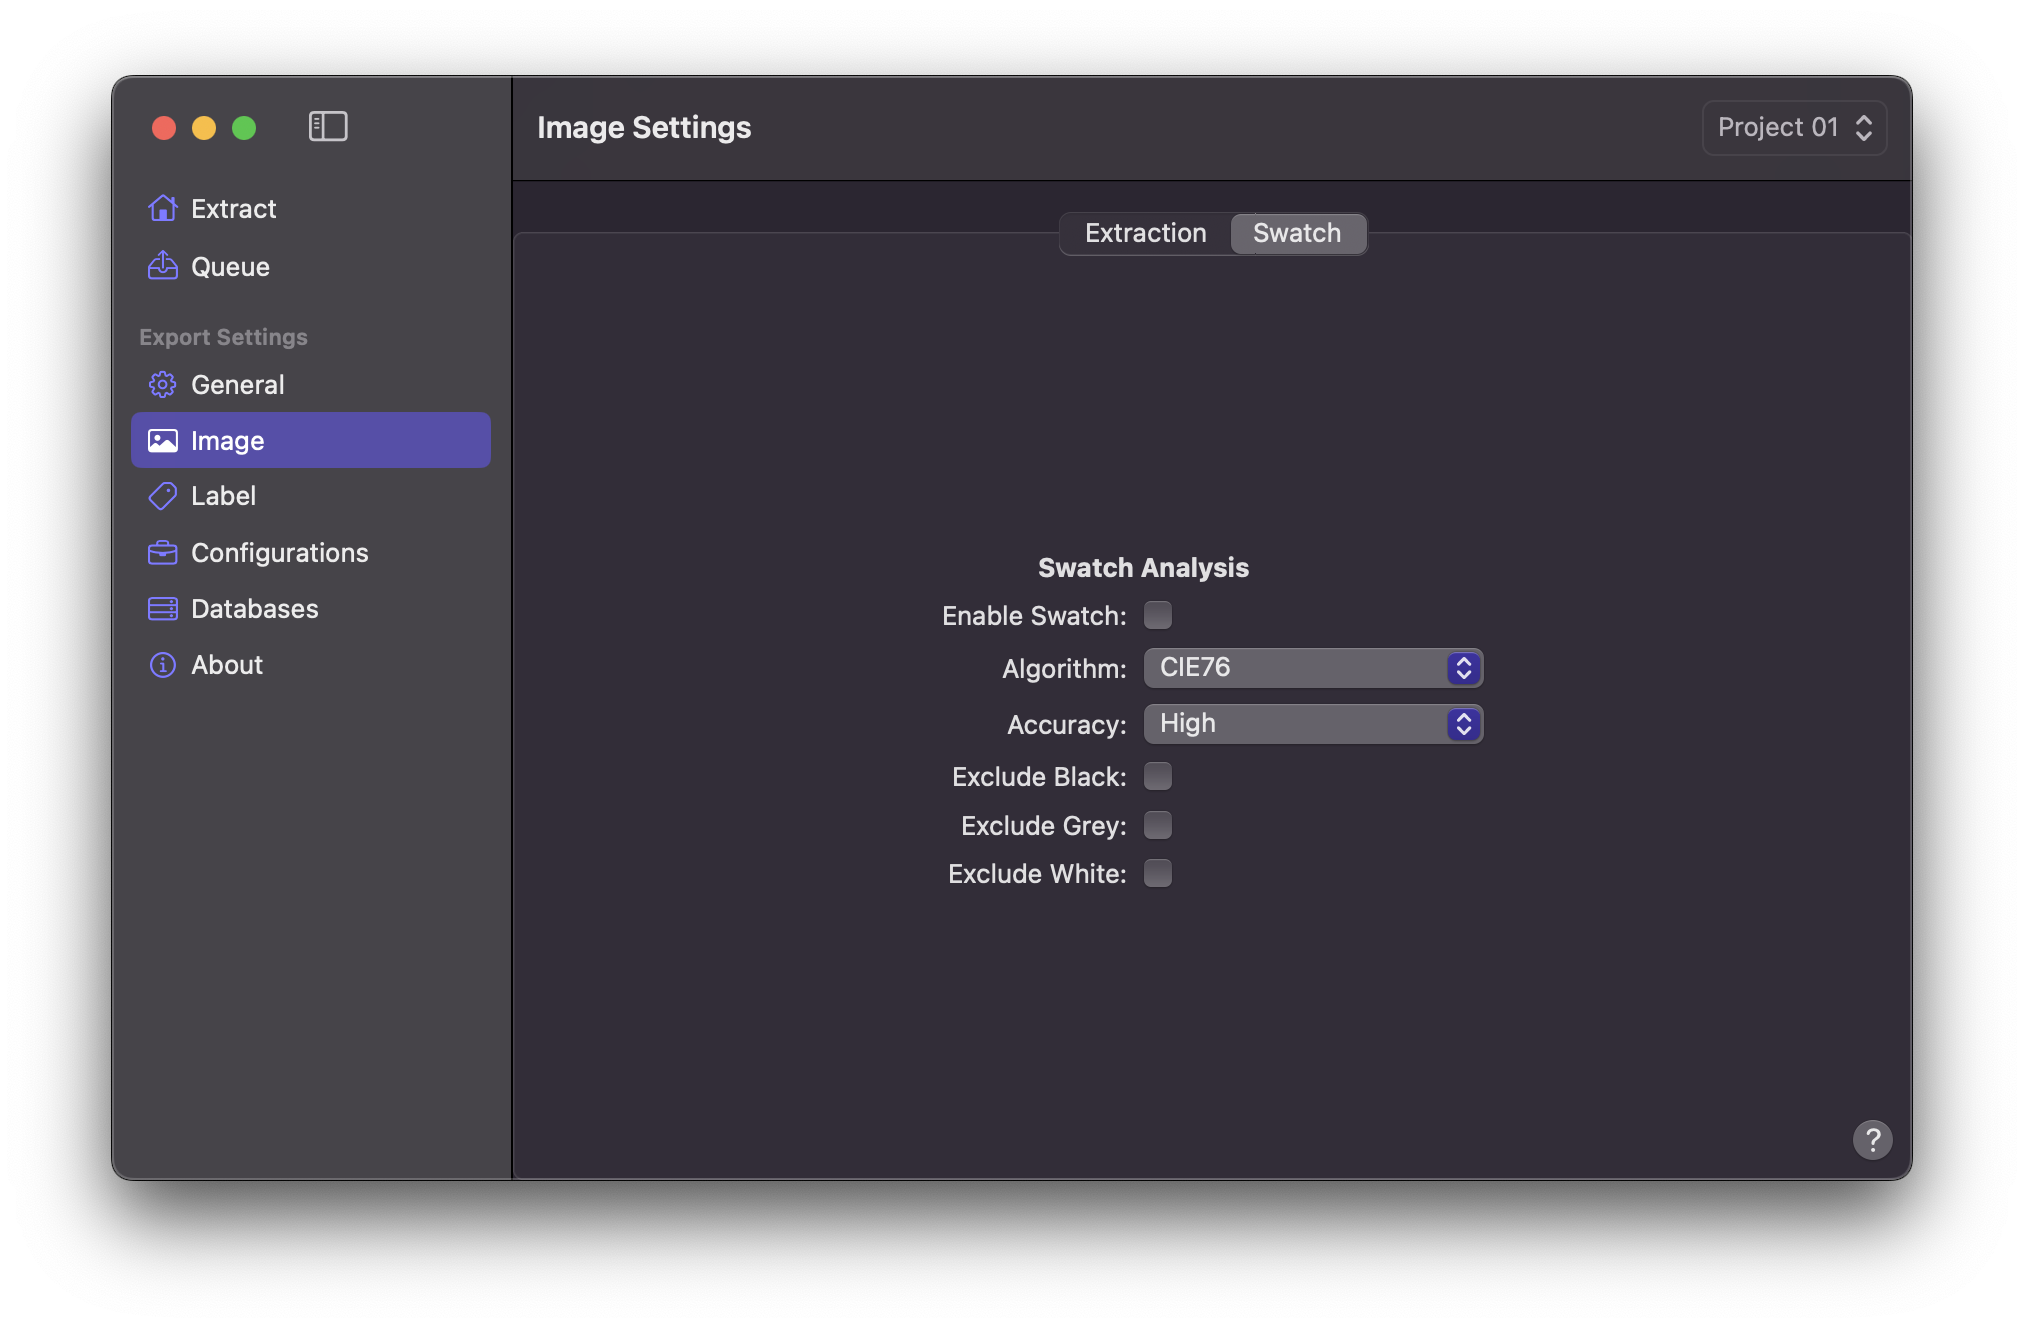
Enable Swatch
Enable the checkbox to embed colour Swatch Palette into extracted images.
Info
For both Notion and Airtable Export Profiles, when GIF is selected as Image Format, Swatch Palettes will be extracted as a separate .jpg file.
#
Algorithm
Select your desired Swatch Algorithm.
Euclidean algorithm calculates difference in RGB colour space.
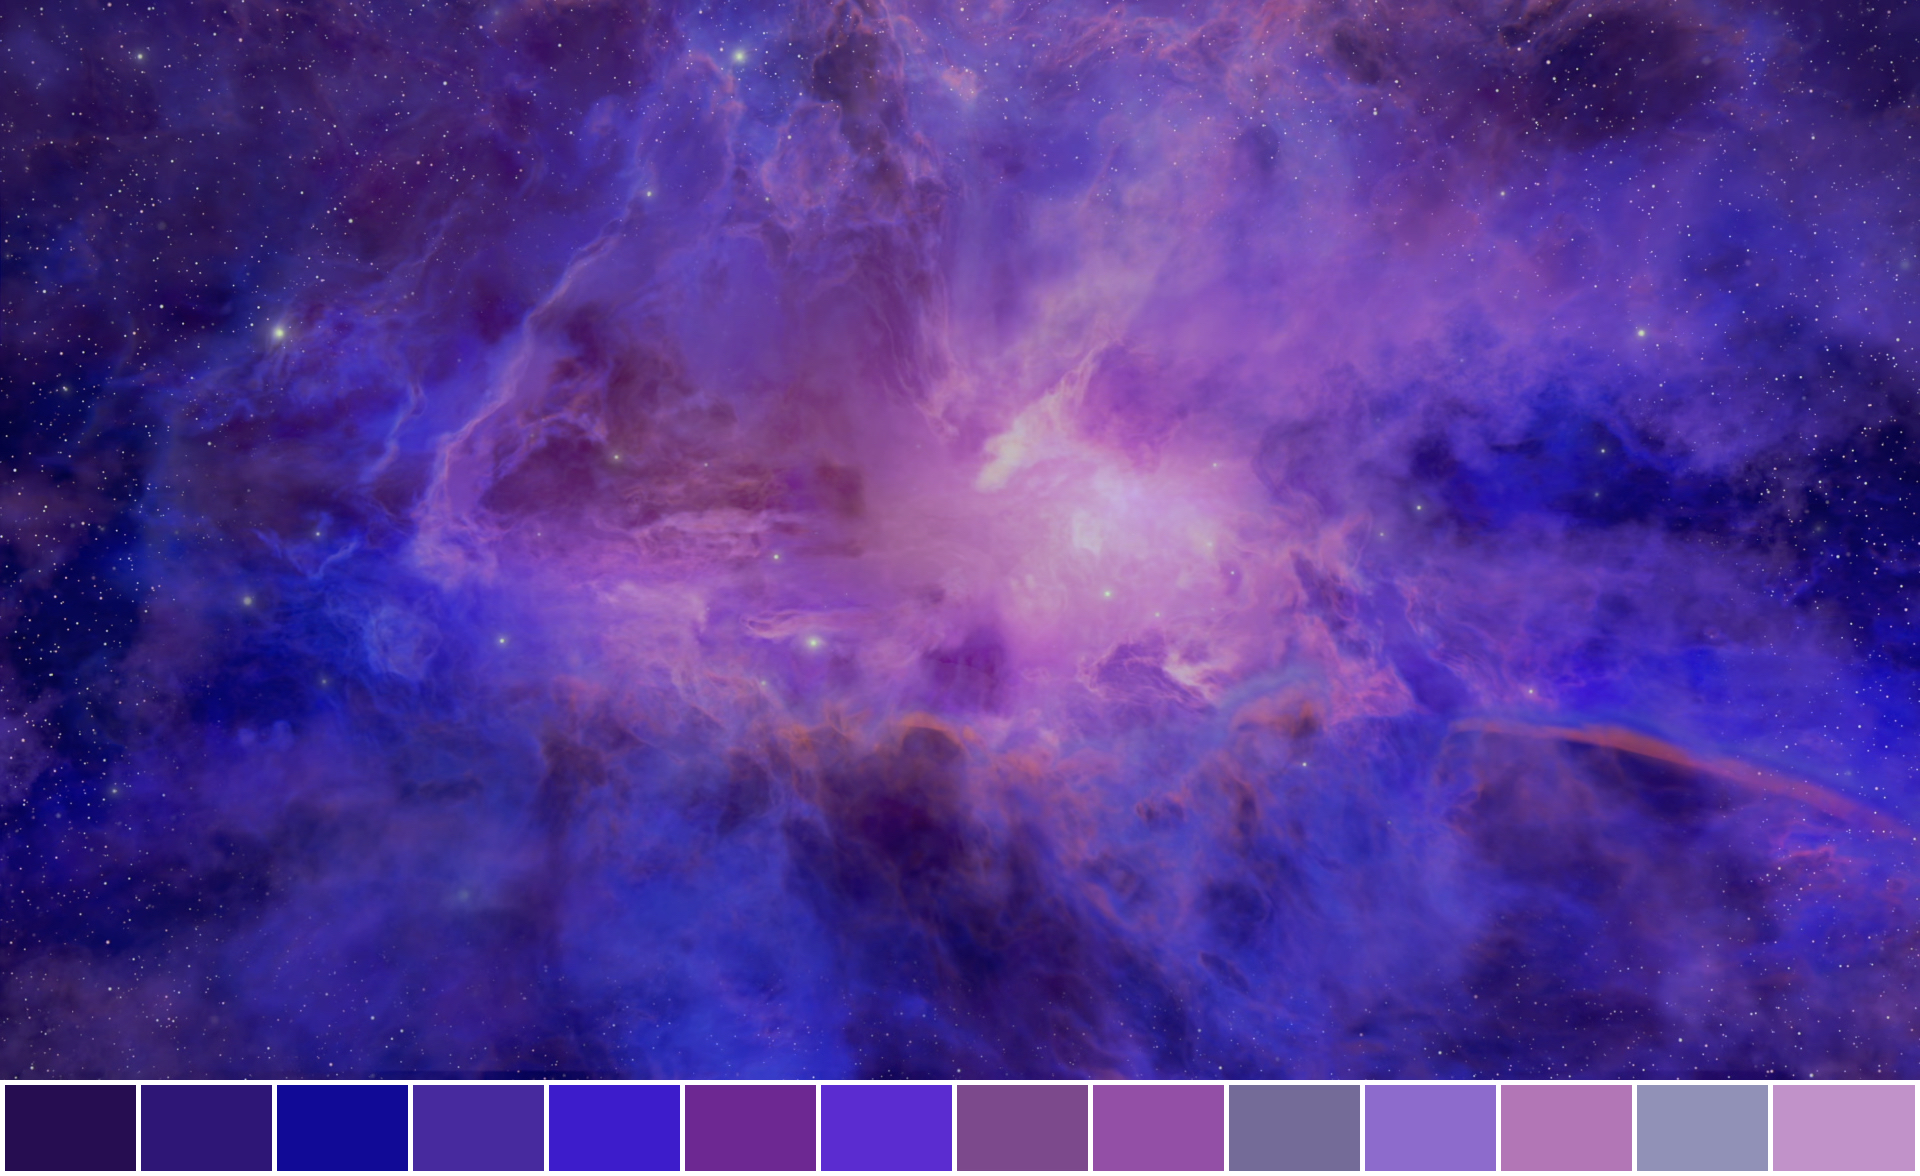
CIE76 algorithm calculates difference in Lab colour space
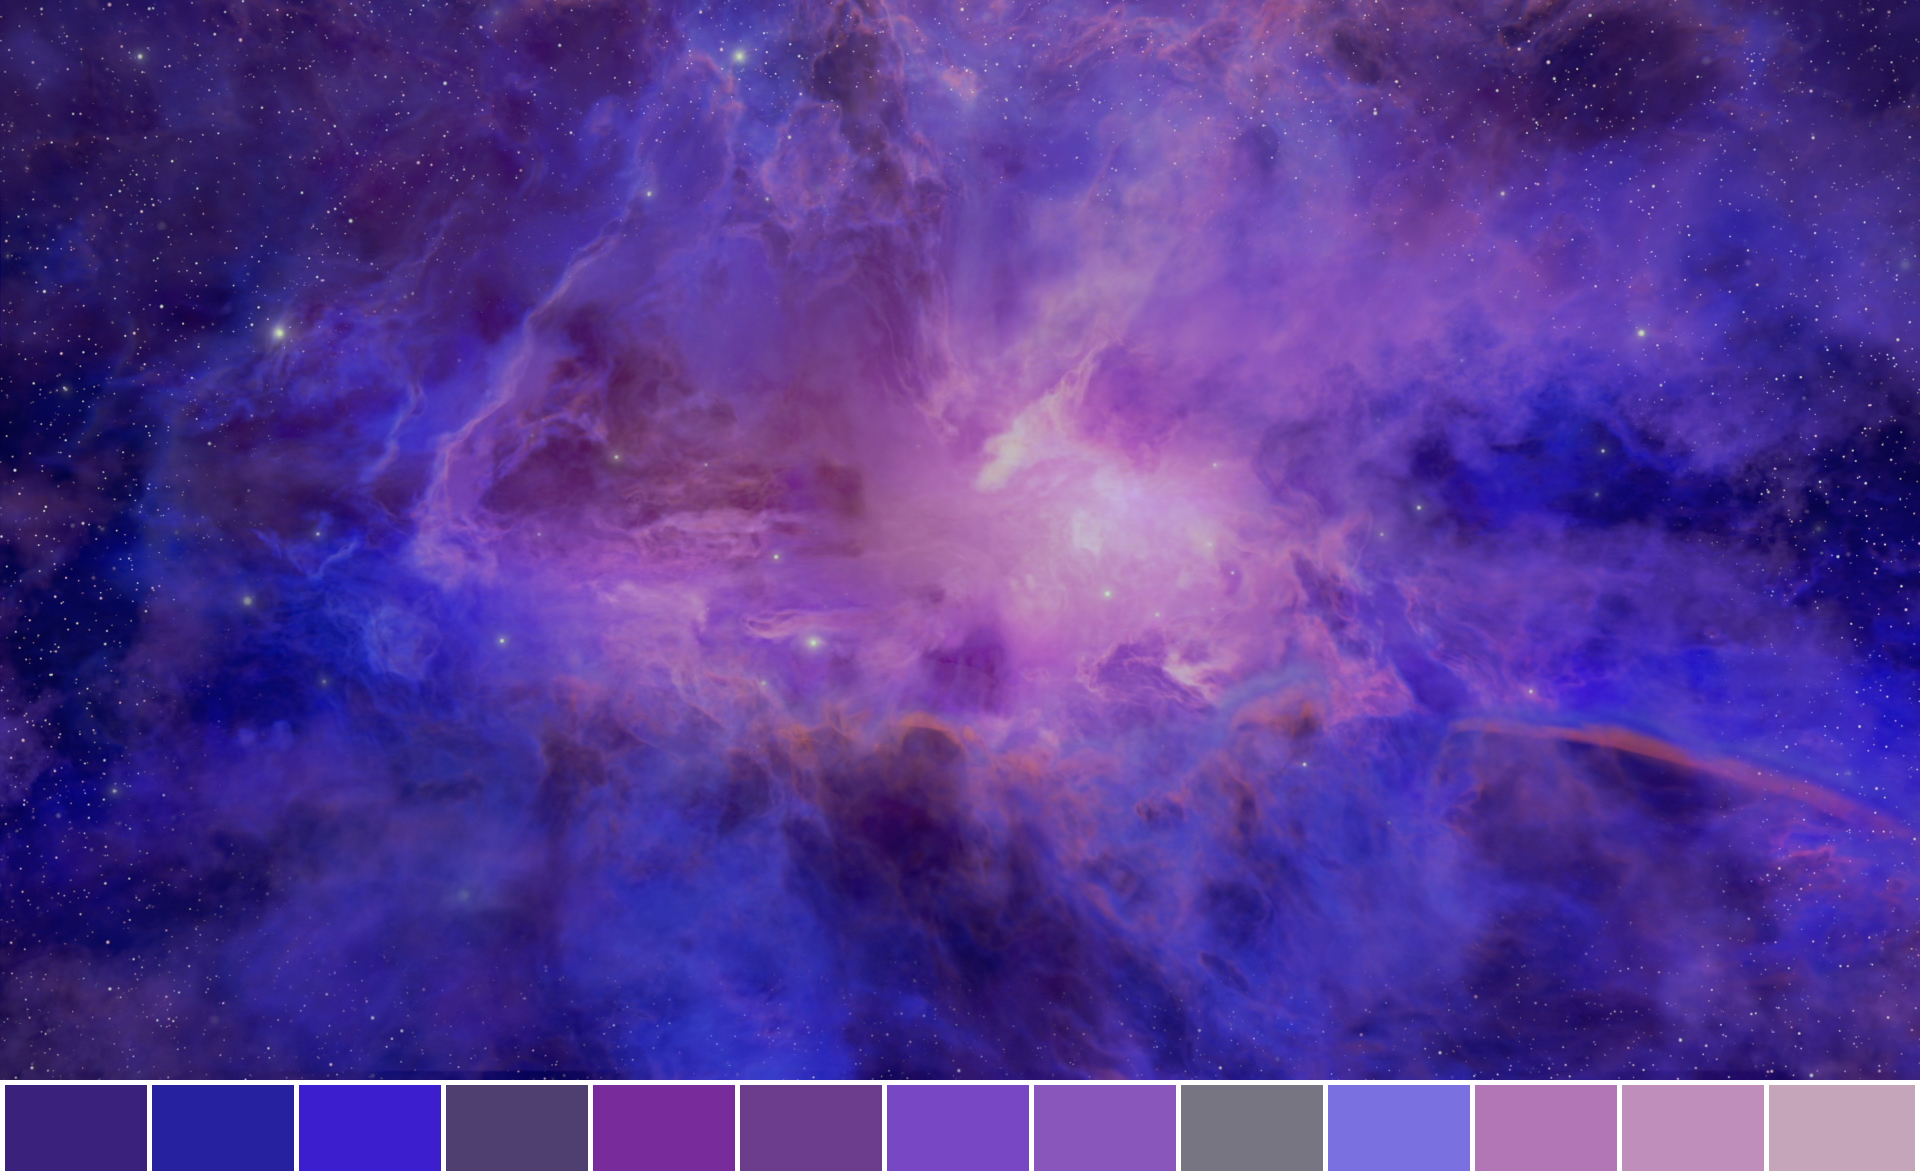
CIE94 algorithm is an improvement of CIE76, it calculates the difference in the Lab colour space. Slightly slower than CIE76.
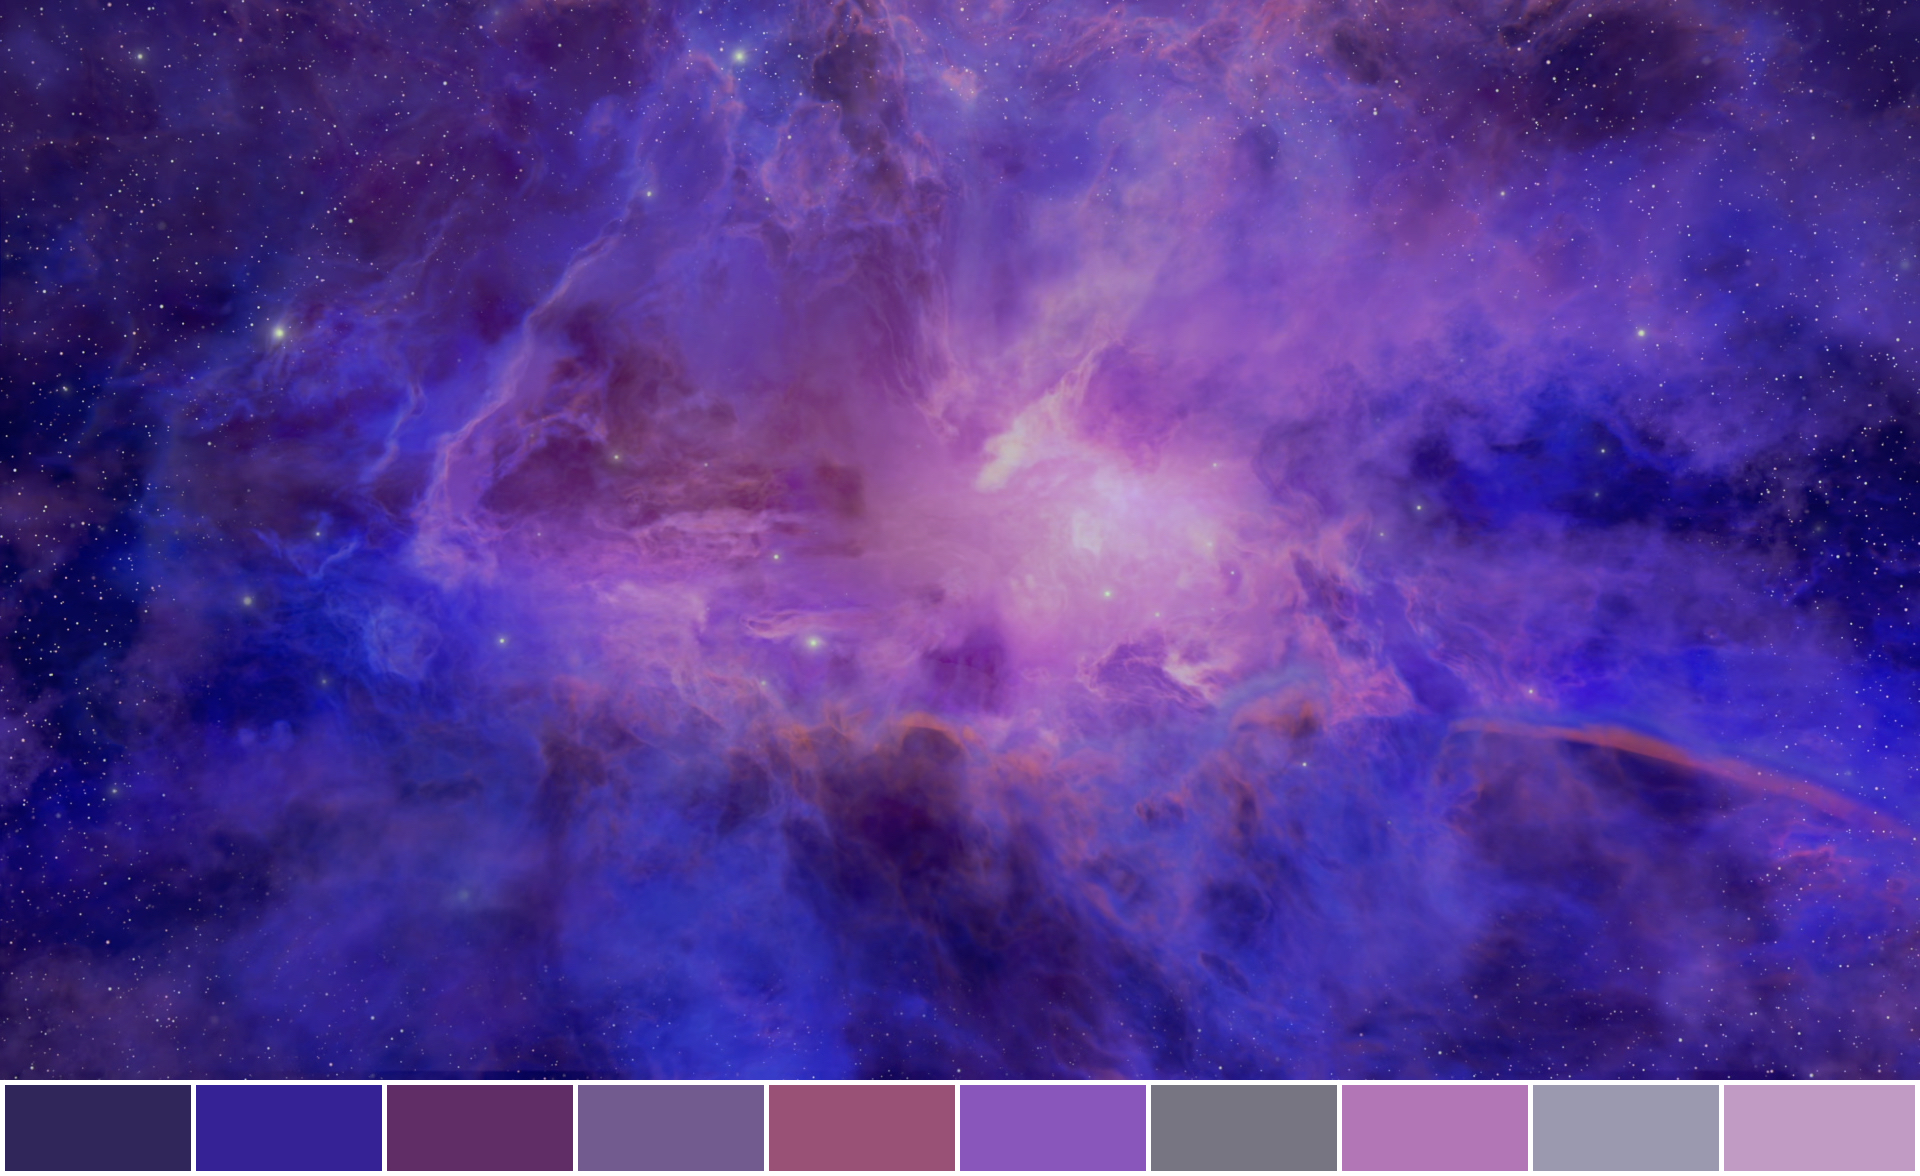
CIEDE2000 algorithm is the most accurate colour comparison algorithm in the Lab colour space. It is significantly slower than its predecessors.
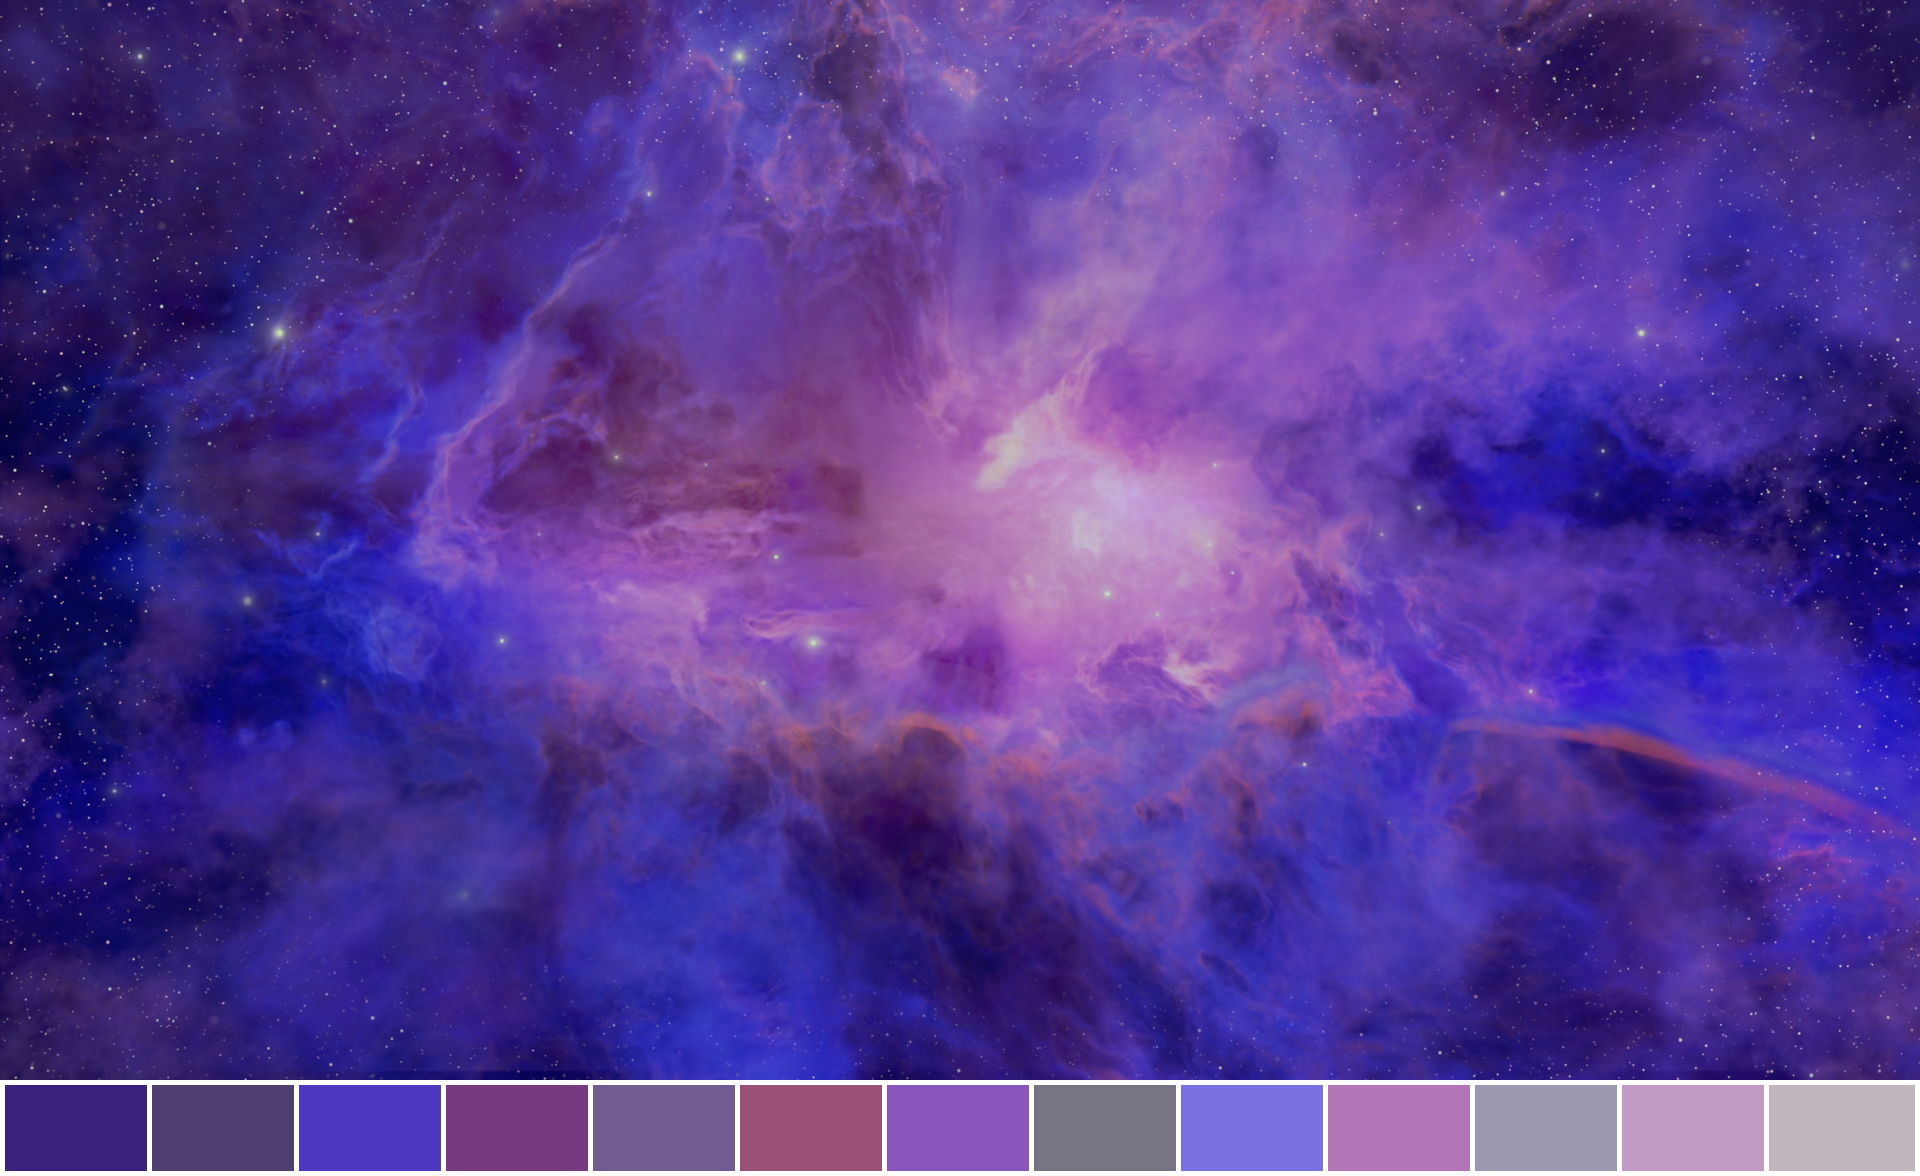
CMC algorithm calculates the difference in the HCL (Hue, Chroma, Luminance) colour space.
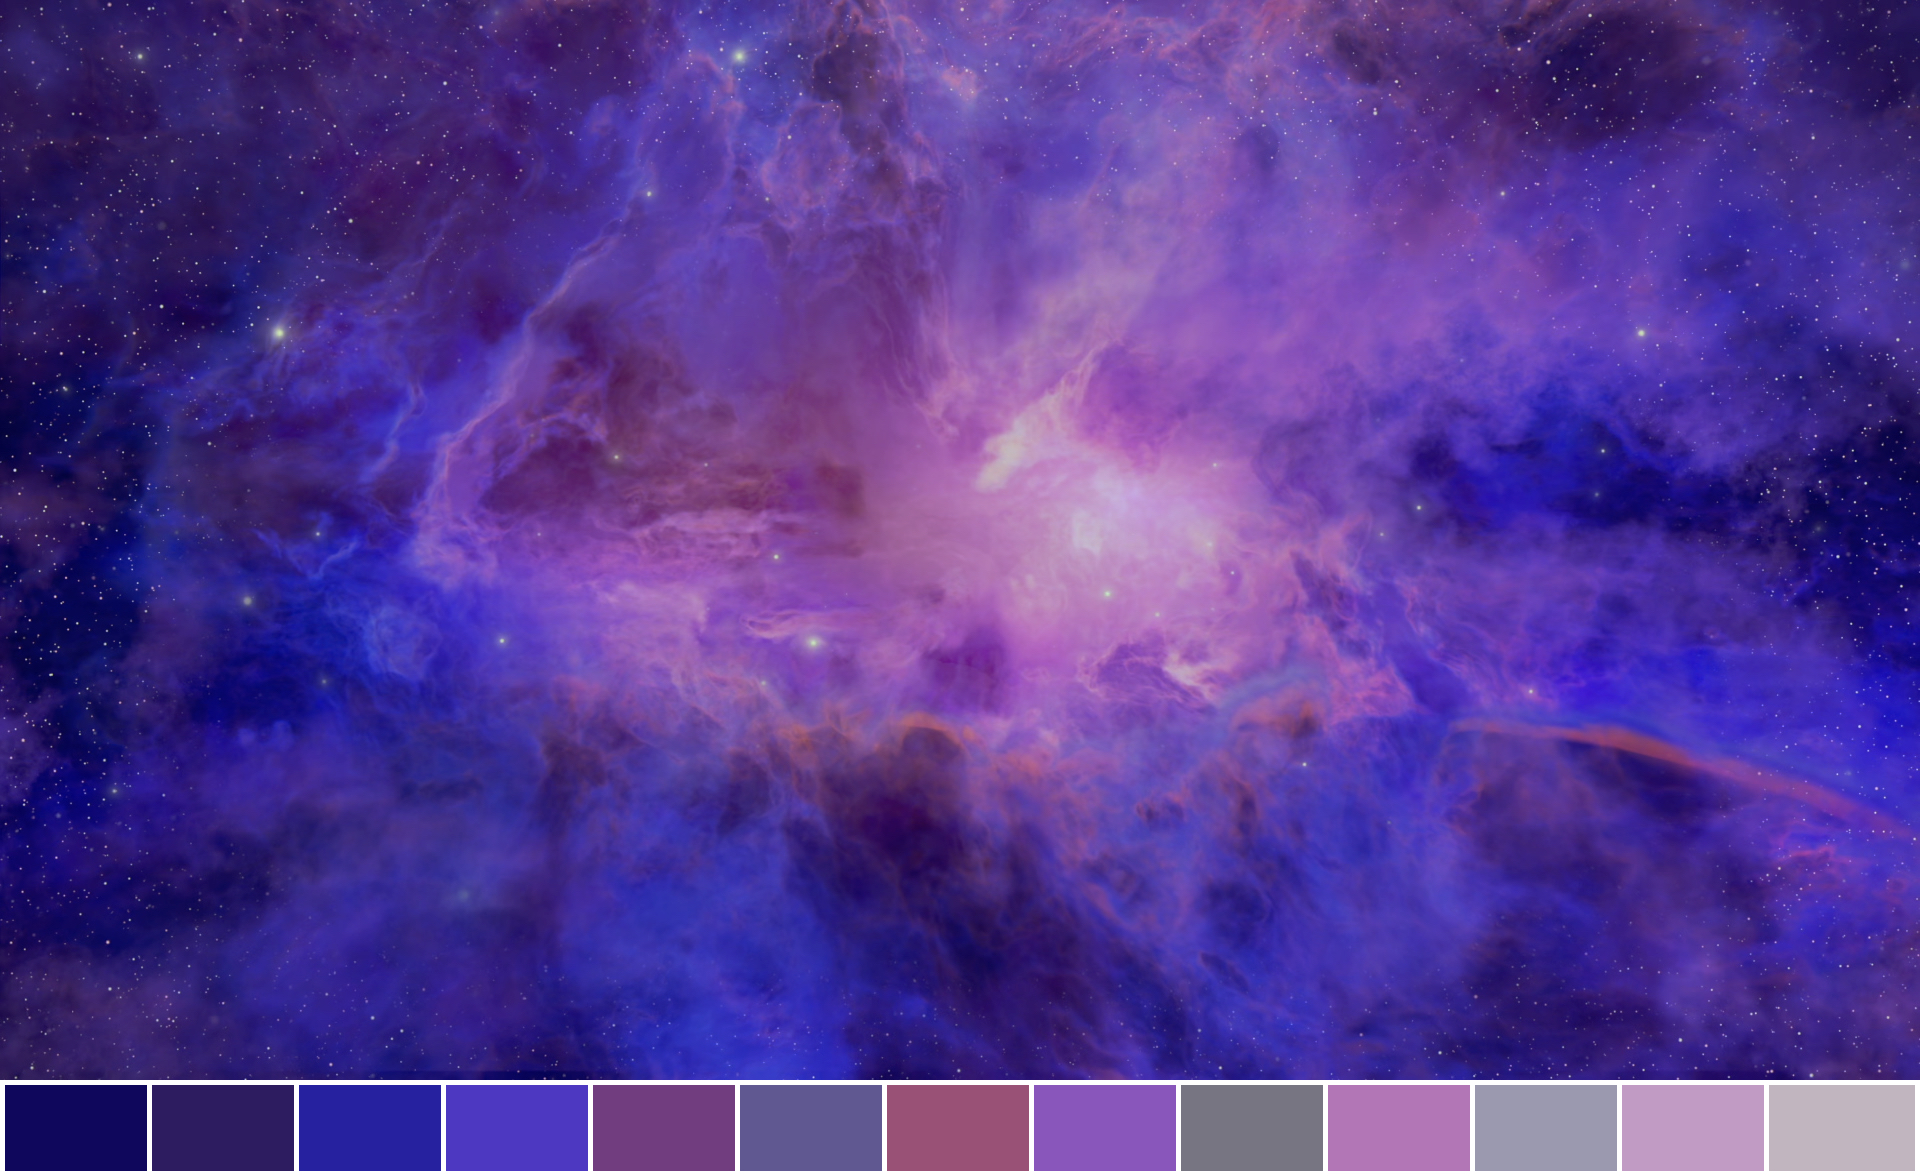
Info
The sequence and presentation of results on the colour swatch strip may vary with each iteration owing to the inherent randomness of the algorithm.
Info
The swatch strip can accommodate a maximum of 14 colour chips. However, the actual number displayed may be fewer, depending on the dominant colours within the image and their proximity to one another. If the delta between colours are minimal, the algorithm may amalgamate similar shades into a single representation, resulting in fewer than 14 distinct colours on the swatch strip.
#
Accuracy
Select your desired Accuracy.
- Low
- Fair
- High Default
- Best
Adjusting the Accuracy setting impacts the swatch analysis during image extraction. Selecting Low accelerates the analysis process, albeit at the cost of precision. Conversely, opting for Best ensures a higher degree of accuracy, though this choice extends the processing time required for image extraction.
#
Exclude Black
Enable the checkbox to ignore Black from Swatch.
#
Exclude Grey
Enable the checkbox to ignore Grey from Swatch.
#
Exclude White
Enable the checkbox to ignore White from Swatch.
